Deck rigging is important, it holds your gear securely on deck and provides purchase for a carry or tow. With skin on frame you can add as many or as few lines as you need. The following is a brief tutorial of how I install deck lines. This method uses pre drilled holes, but, there is no reason not to just drill through the skin afterwards either. I use 7/32" holes near the cockpit and 1/4" holes at the bow. The straps are 1/4" wide Latigo: Any tack shop can cut you a few.
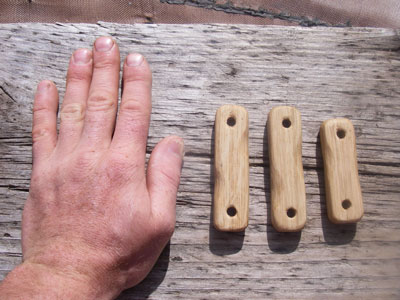
Make yourself some toggles, as many or few as you need.

Heat up a nail with a propane torch, be careful!
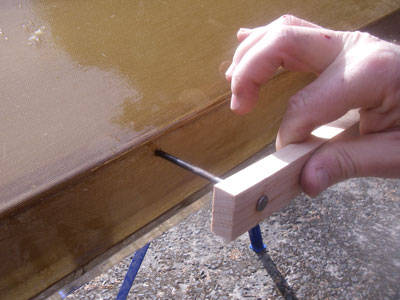
Find the predrilled holes (a flashlight in a dark room can help) and melt through the skin.
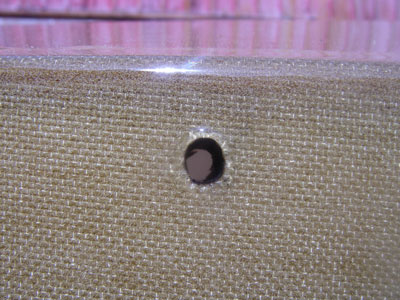
The hole should look like this.

Cut a taper like this in the end of the straps.
Pull the straps through a 7/32" hole to round them a bit.
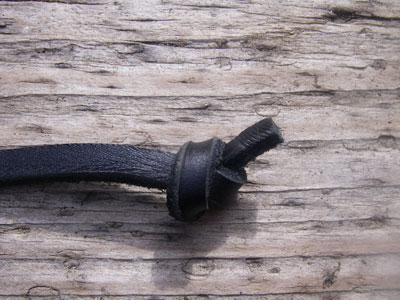
Tie a knot in the end.
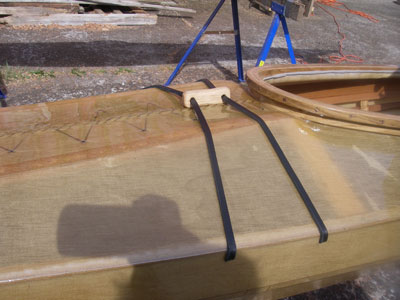
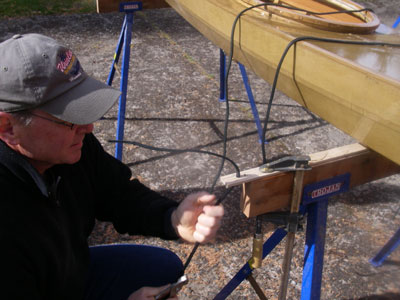
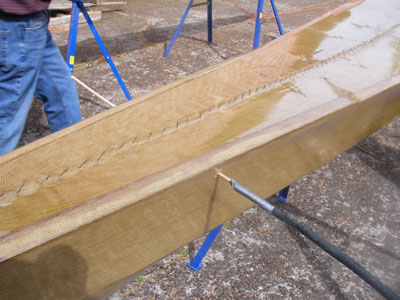
Feed the straps through the gunwale from the inside, then pull them through with a pliers, thread the toggle, and then into the other hole, pull tight, then out the next hole, back across, thread the toggle again, now into the last hole. Pull tight and tie off inside the kayak, cut off the excess. Behind the cockpit I use 2 toggles instead of just 1 pictured above.
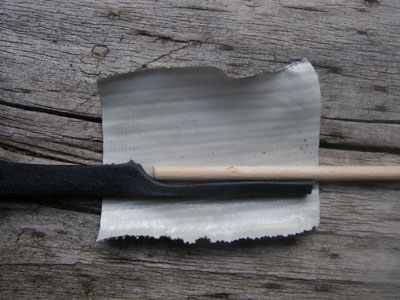
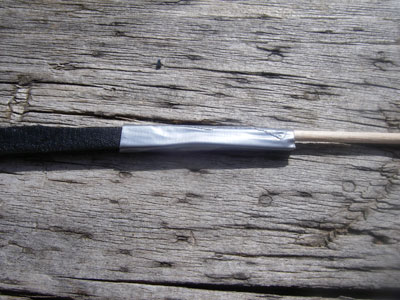
The bow and stern are a bit trickier, sure you could always peg them in but you can't tow a pegged strap. Instead I feed them continuous and tie a knot. Cut a tiny taper and tape it to a 1/8 dowel.
Pull the strap through to the other side. It might take a few tries, don't get discouraged.
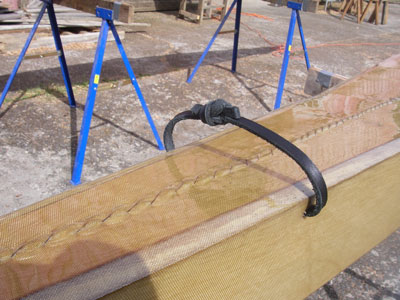
Tie it off.
Back to Cape Falcon Kayak