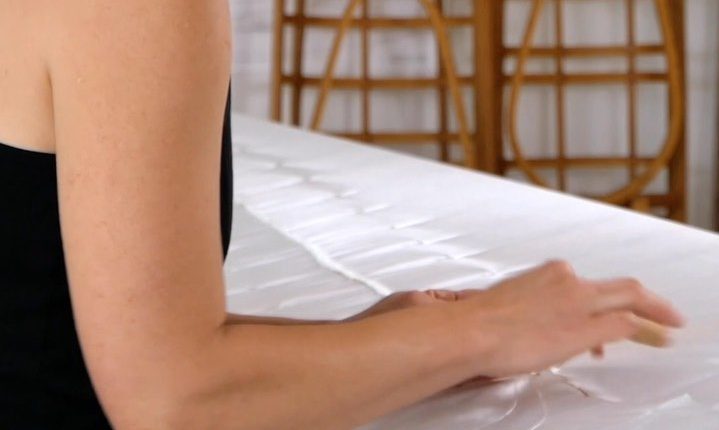
With the skinning process complete, Liz saturates the cloth with 2 part polyurethane. This particular product is not completely non-toxic, but it also doesn’t contain any solvents so it’s a lot nicer to work with than many other urethanes. It’s also relatively inexpensive and extremely durable. We use 3 to 5 coats wet on...
"Video: Liz builds a skin on frame kayak, Part 11"Continue readingCategory: F1 Kayak
Video: Liz builds a skin on frame kayak, Part 10
With the ends sewn up and the skin tightened, Liz stitches up the deck seam and attaches the coaming. We use a simple whipstitch on deck which isn’t quite as pretty as some methods but it’s a LOT faster. After attaching the coaming, we wet down the skin and then steam the fabric to...
"Video: Liz builds a skin on frame kayak, Part 10"Continue reading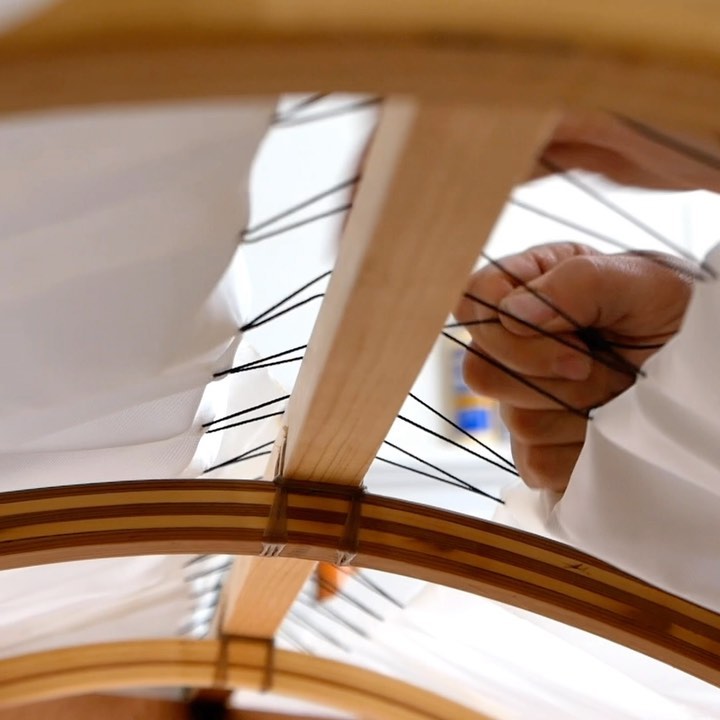
Video: Liz builds a skin on frame kayak, Part 9
Once the oil on the frame is completely dry, we start the skinning process. There are many ways to stitch up a kayak, and many different fabric options. The fabric I use is a nice balance between weights and durability, and our skinning method is fast and easy and the fabric always ends up...
"Video: Liz builds a skin on frame kayak, Part 9"Continue reading
Video: Liz builds a skin on frame kayak, Part 8
With the frame finished there’s just a little bit of cleanup to do, rounding any sharp edges, sanding, etc. Next Liz takes the frame outside for a generous coat of oil. We really soak the frame for the best possible penetration into the areas that you can’t reach with a paintbrush. The kayak actually...
"Video: Liz builds a skin on frame kayak, Part 8"Continue reading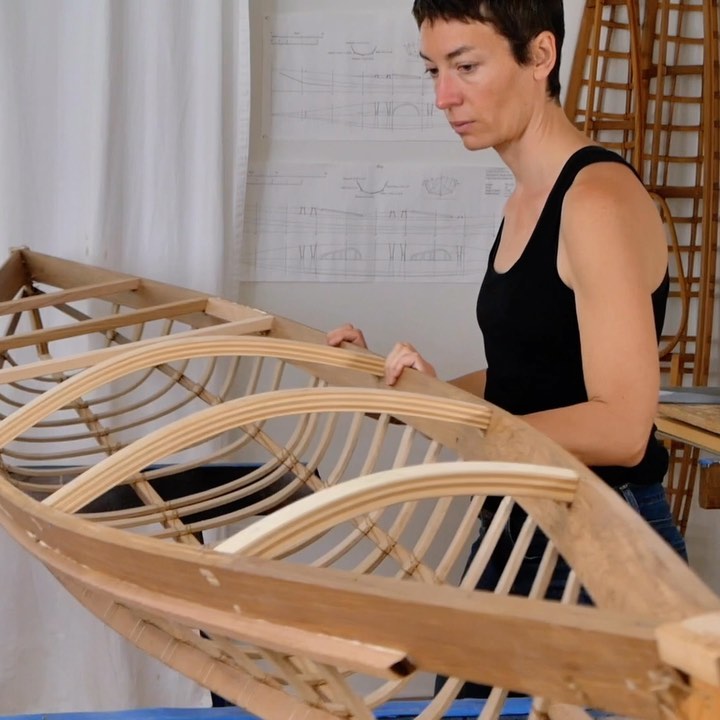
Video: Liz builds a skin on frame kayak, Part 7
.With the hull complete Liz turns the kayak over to finish the deck. There’s not a lot of work here, just cutting a shallow blind mortise into a deck beam, a few swipes to the block plane, and a couple lashings to attach the forward deck stringer. Aft deck stringers are omitted because we...
"Video: Liz builds a skin on frame kayak, Part 7"Continue reading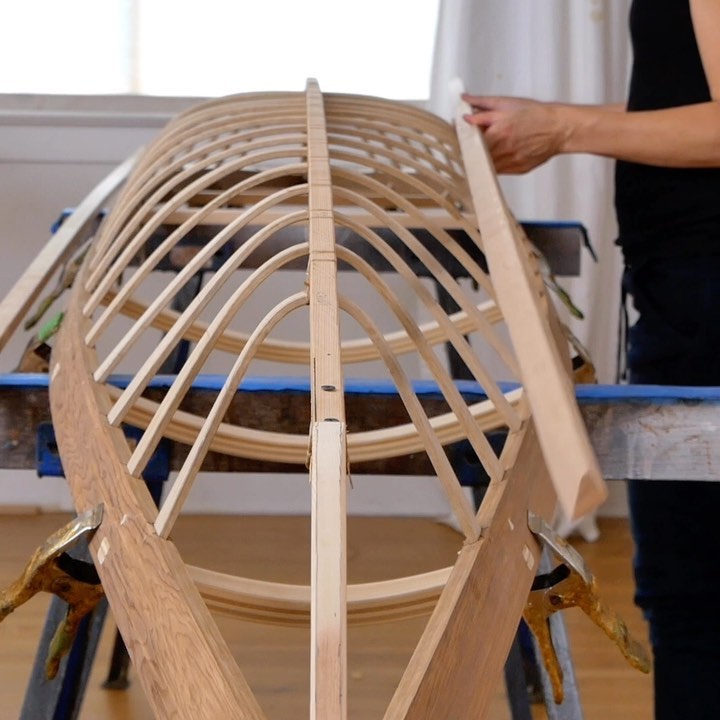
Video: Liz builds a skin on frame kayak, Part 6
With the stems attached, next Liz ties on the stringers. Just like with the keel it’s beneficial to do this as soon as possible after steam bending the ribs because the stringers help to smooth out any irregularities in the shaping. Once the stringers are tied on we shape the ends and tie them...
"Video: Liz builds a skin on frame kayak, Part 6"Continue reading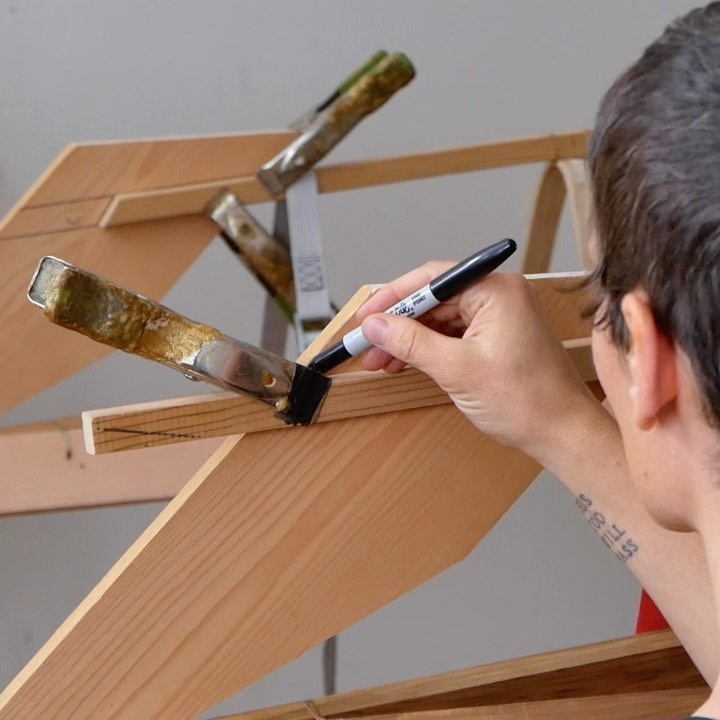
Video: Liz build a skin on frame kayak, Part 5
With the keel is lashed to the ribs next Liz does the final layout and shaping on the stems before attaching them with lashings and pegs. In addition to making the attachments correctly, it’s very important to make sure that the bow and the stern rocker are at the right heights before scribing them...
"Video: Liz build a skin on frame kayak, Part 5"Continue reading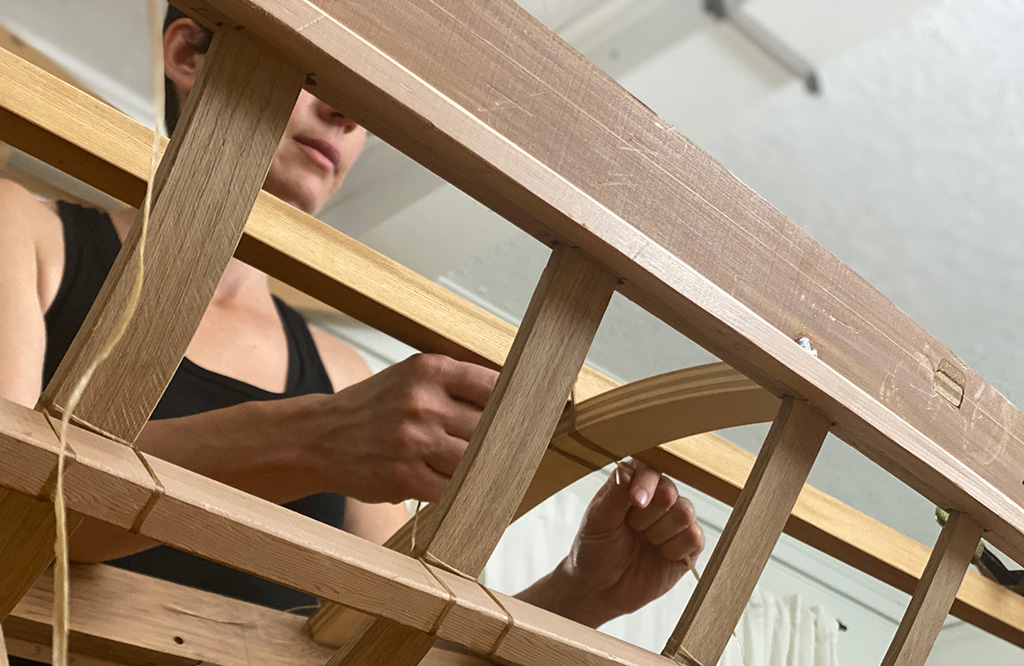
Video: Liz builds a skin on frame kayak, Part 4
After steam bending the ribs, Liz double checks the symmetry and the rocker heights at both ends before pegging some of the ribs in place. Next she ties the keel on with a single continuous lashing. It’s important to do this work as quickly as possible after steam bending the ribs because they will...
"Video: Liz builds a skin on frame kayak, Part 4"Continue reading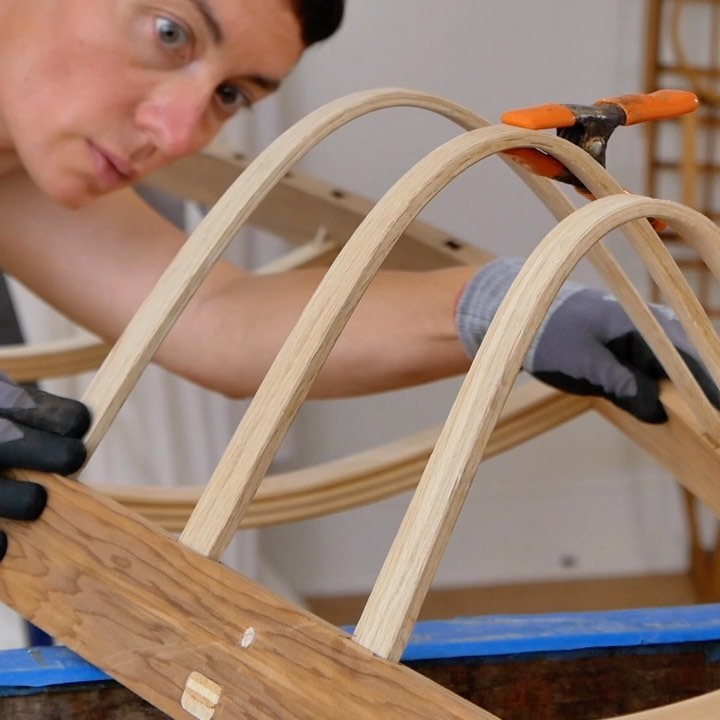
Video: Liz builds a skin on frame kayak, Part 3
With the deck complete Liz steam bends the kayak ribs. Not to diminish her skills, but this is actually a lot easier than it looks. The F1 has pretty extreme shaping, and this is Liz’s first build, but she still didn’t break any ribs. The secret is simply using really good quality bending wood,...
"Video: Liz builds a skin on frame kayak, Part 3"Continue reading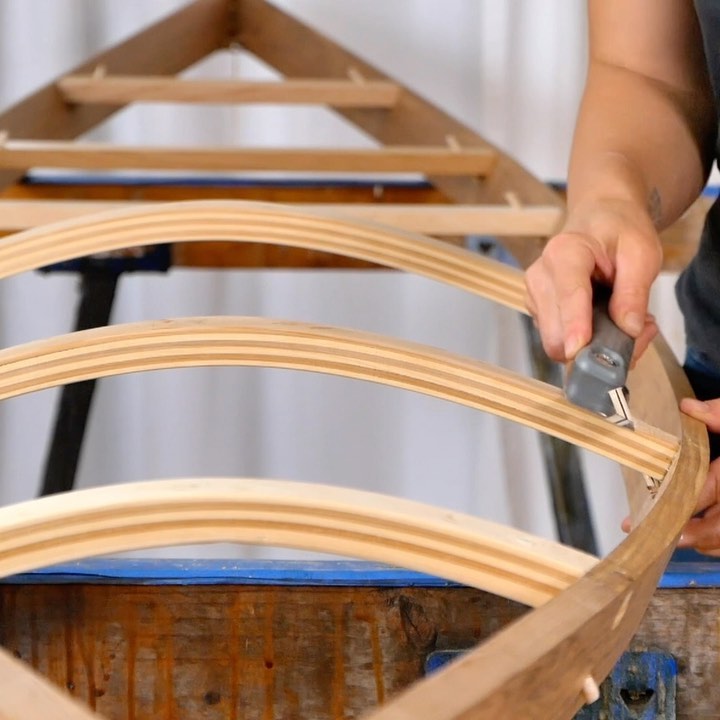
Video: Liz builds a skin on frame kayak, Part 2
With the tenons cut on the ends of the deck beams Liz assembles the deck. This joinery is a mixture of modern and traditional techniques although construction methods varied so widely throughout the Arctic that the word “traditional” can refer to dozens of different building techniques. I simply use whatever is strong, fast, and...
"Video: Liz builds a skin on frame kayak, Part 2"Continue reading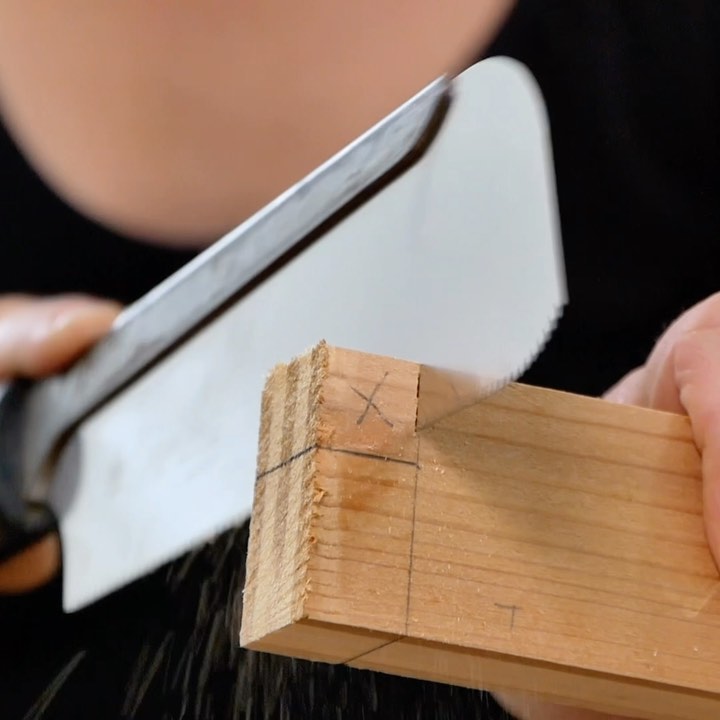
Video: Liz builds a skin on frame kayak, Part 1
Something a little different this time: I am behind the camera and Liz is building her first kayak! The design is my F1 kayak, a super versatile and surprisingly quick 14’ sea kayak that weighs around 30lbs depending on the size. Normally a build like this takes about 10 days (including prep), but we...
"Video: Liz builds a skin on frame kayak, Part 1"Continue reading
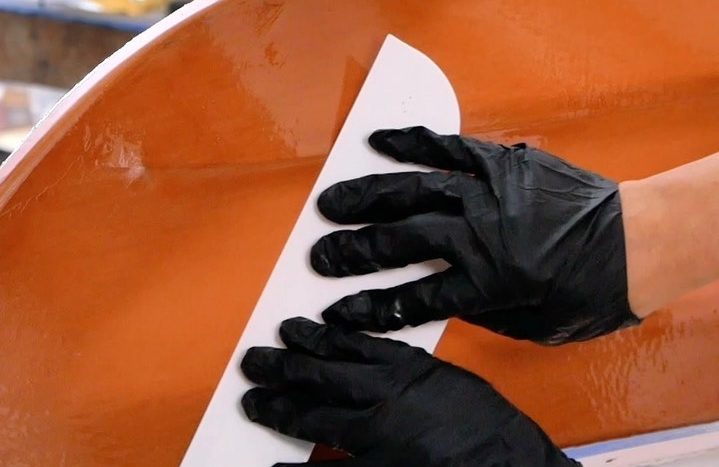
Video: Liz doing the final finishing pull on her new kayak
Liz doing the final finishing pull on her new F1. This is a bit tricky to get right because you have to wait until the coating has set enough that you can smooth down imperfections without pulling off material, but it still has to be fluid enough that it will self level afterwards without...
"Video: Liz doing the final finishing pull on her new kayak"Continue reading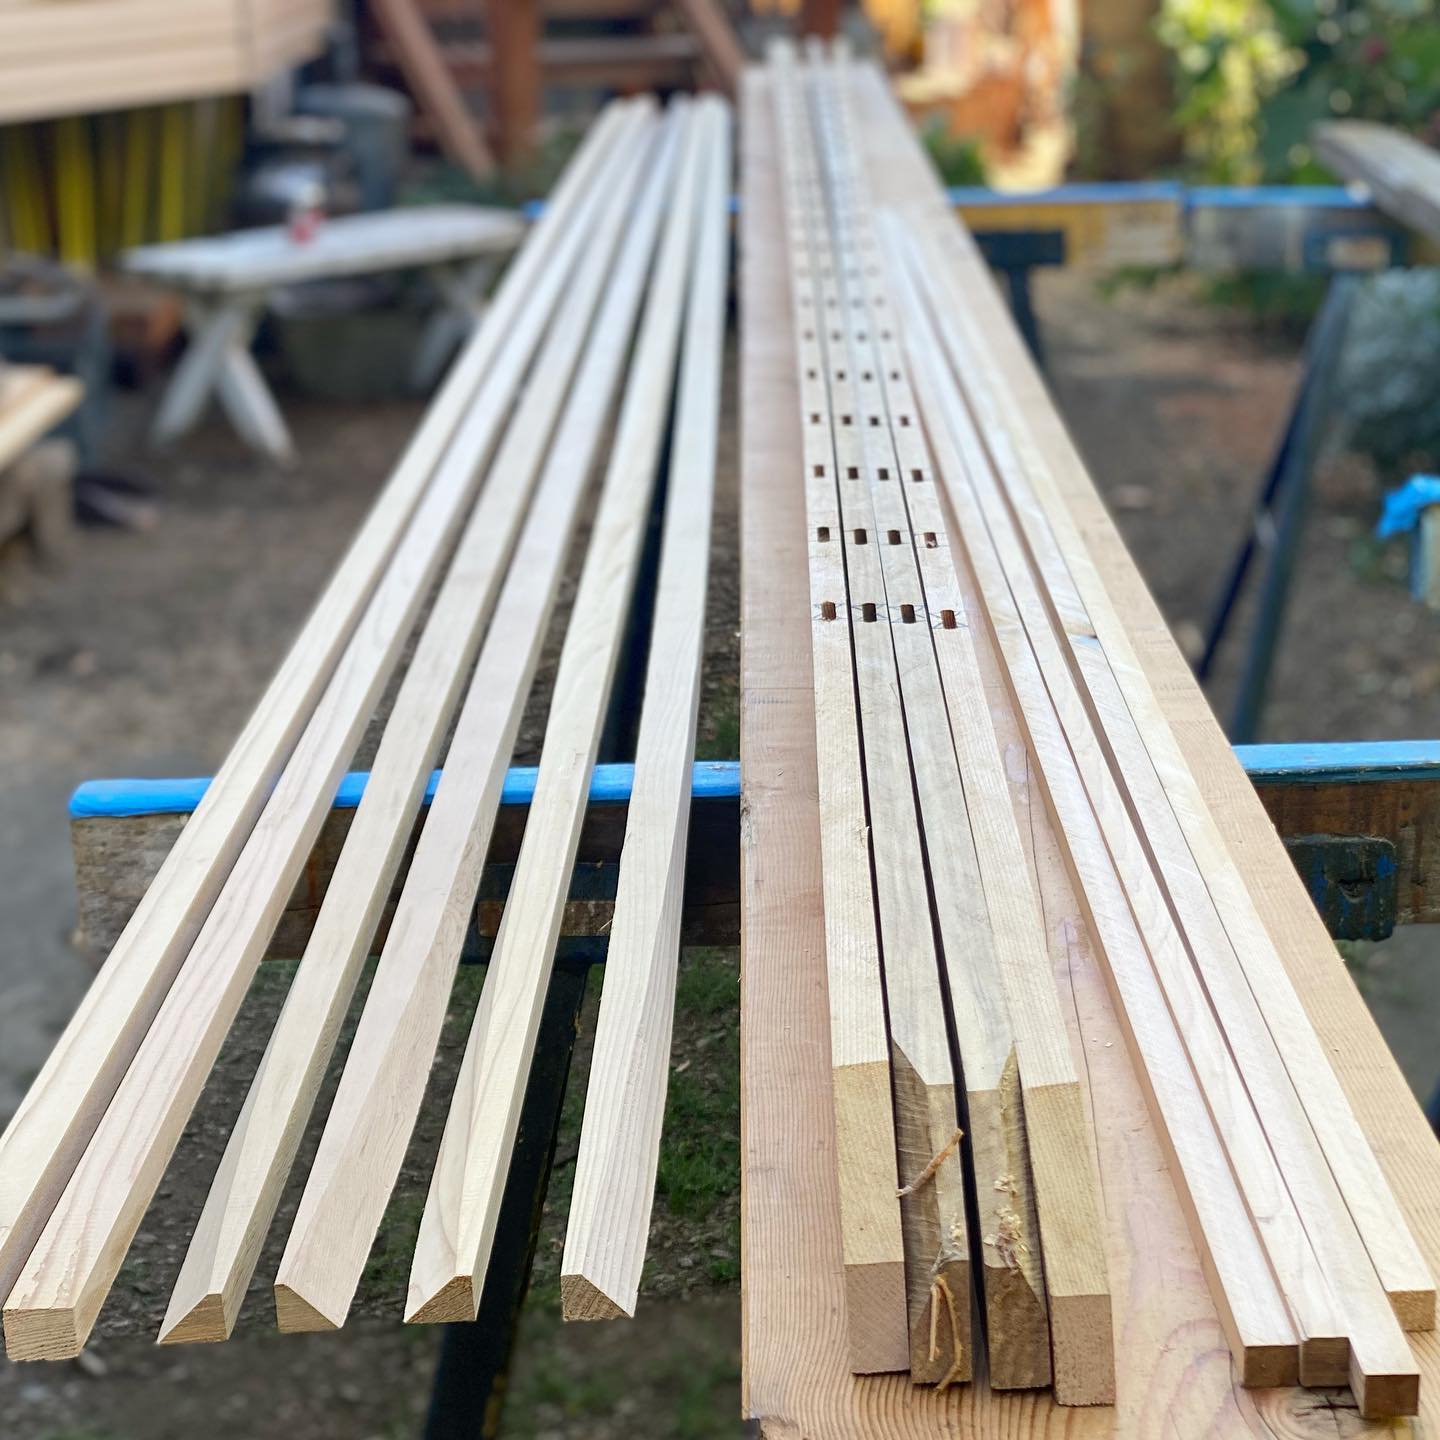
List of scavenged wood for the upcoming kayak build
List of scavenged wood for the upcoming kayak build: One pair of mortised kayak gunnels originally discarded because I just don’t trust the dark chocolate colored cedar in a rock garden boat. Another pair of gunwales discarded because I didn’t wanna deal with the shake (zillions of tiny cracks). One pair of stringers cut...
"List of scavenged wood for the upcoming kayak build"Continue reading
Using up shop scraps and some salvaged wood on a couple new boats this week
Starting work on a couple new boats this week and using up shop scraps and some salvaged wood in the process. After rehabbing the cracked reject gunnels yesterday, today I plugged the deck beam mortises originally intended for a flat deck F1 to be re-purposed for a normal F1. I normally advise against this...
"Using up shop scraps and some salvaged wood on a couple new boats this week"Continue reading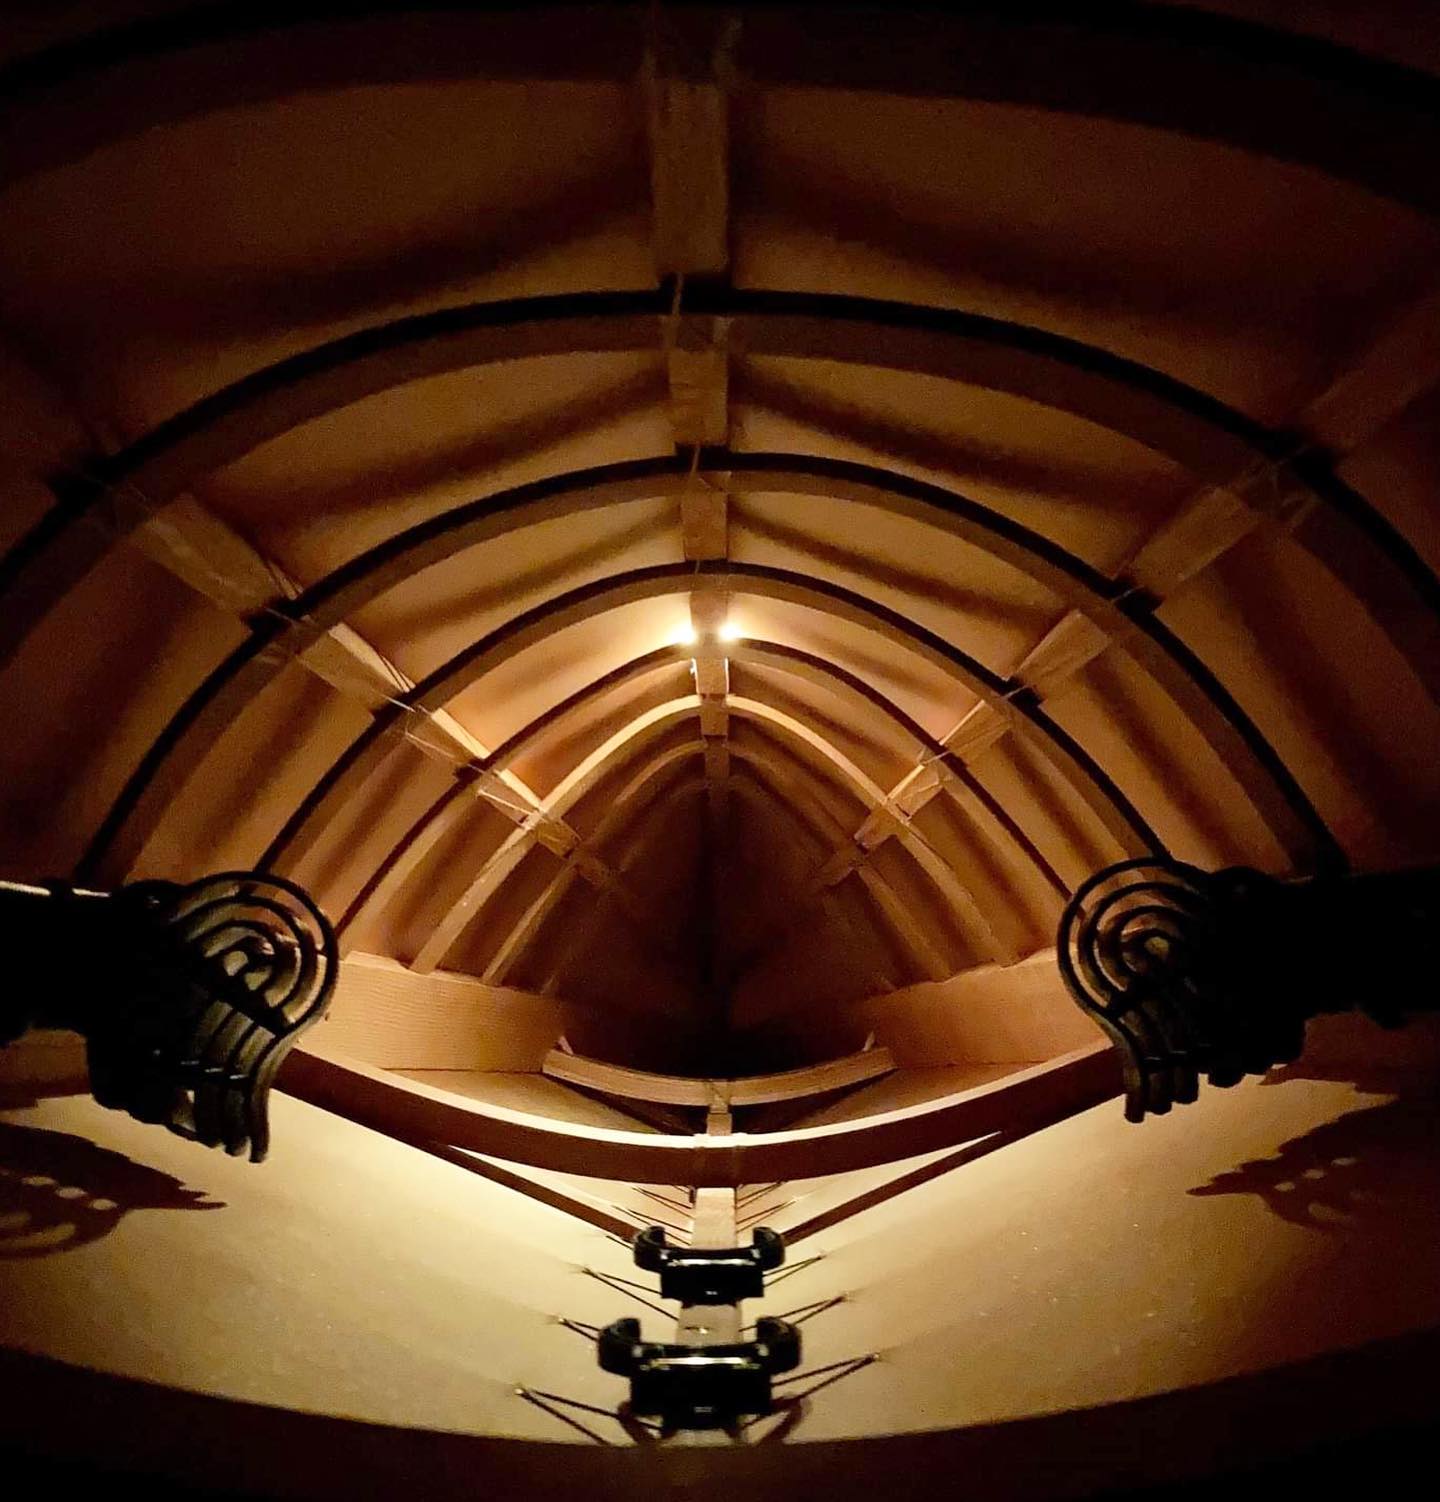
Zach and Aaron’s F1s
Lots of great pictures coming in from students right now. This pair of F1 kayaks were built by Zach and his brother Aaron in Arizona, then they drove them to the Pacific Northwest to paddle in the San Juan islands and also off the Oregon coast! Really nice work on the shaping on these. Getting...
"Zach and Aaron’s F1s"Continue reading