
I’ve been lucky enough to avoid epoxy and varnish for most of my boat building life, although both are making more frequent appearances since we developed the pedal drive adapter box. The plan here was just to varnish the box, but I decided to do the bottom board as well just to keep it...
"St. Lawrence River Skiff: Varnishing the drive box and keel"Continue readingCategory: Boat Design
Timelapse: St. Lawrence River Skiff: Disassembling the dry fit and beveling the stations
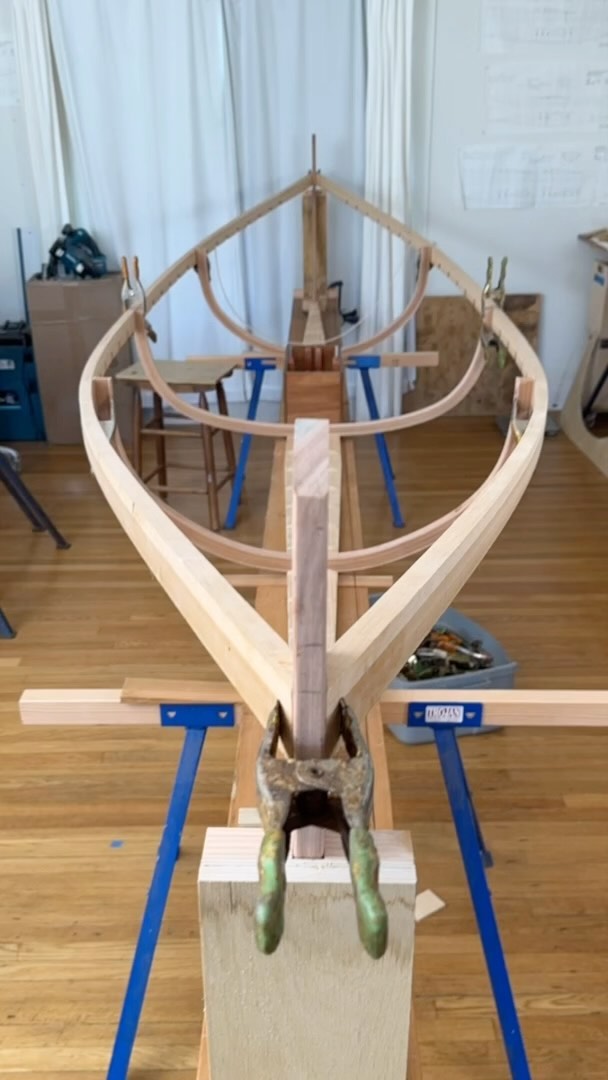
Sound on! Yesterday I disassembled the temporary framing so I could bevel the laminated frames to match the angle of the stringers. After that, I went on a somewhat nerve-racking lightening spree, thinning out various scantling as much as I dared. Next step is to reassemble everything permanently. Song is is razzmatazz by Jules...
"Timelapse: St. Lawrence River Skiff: Disassembling the dry fit and beveling the stations"Continue reading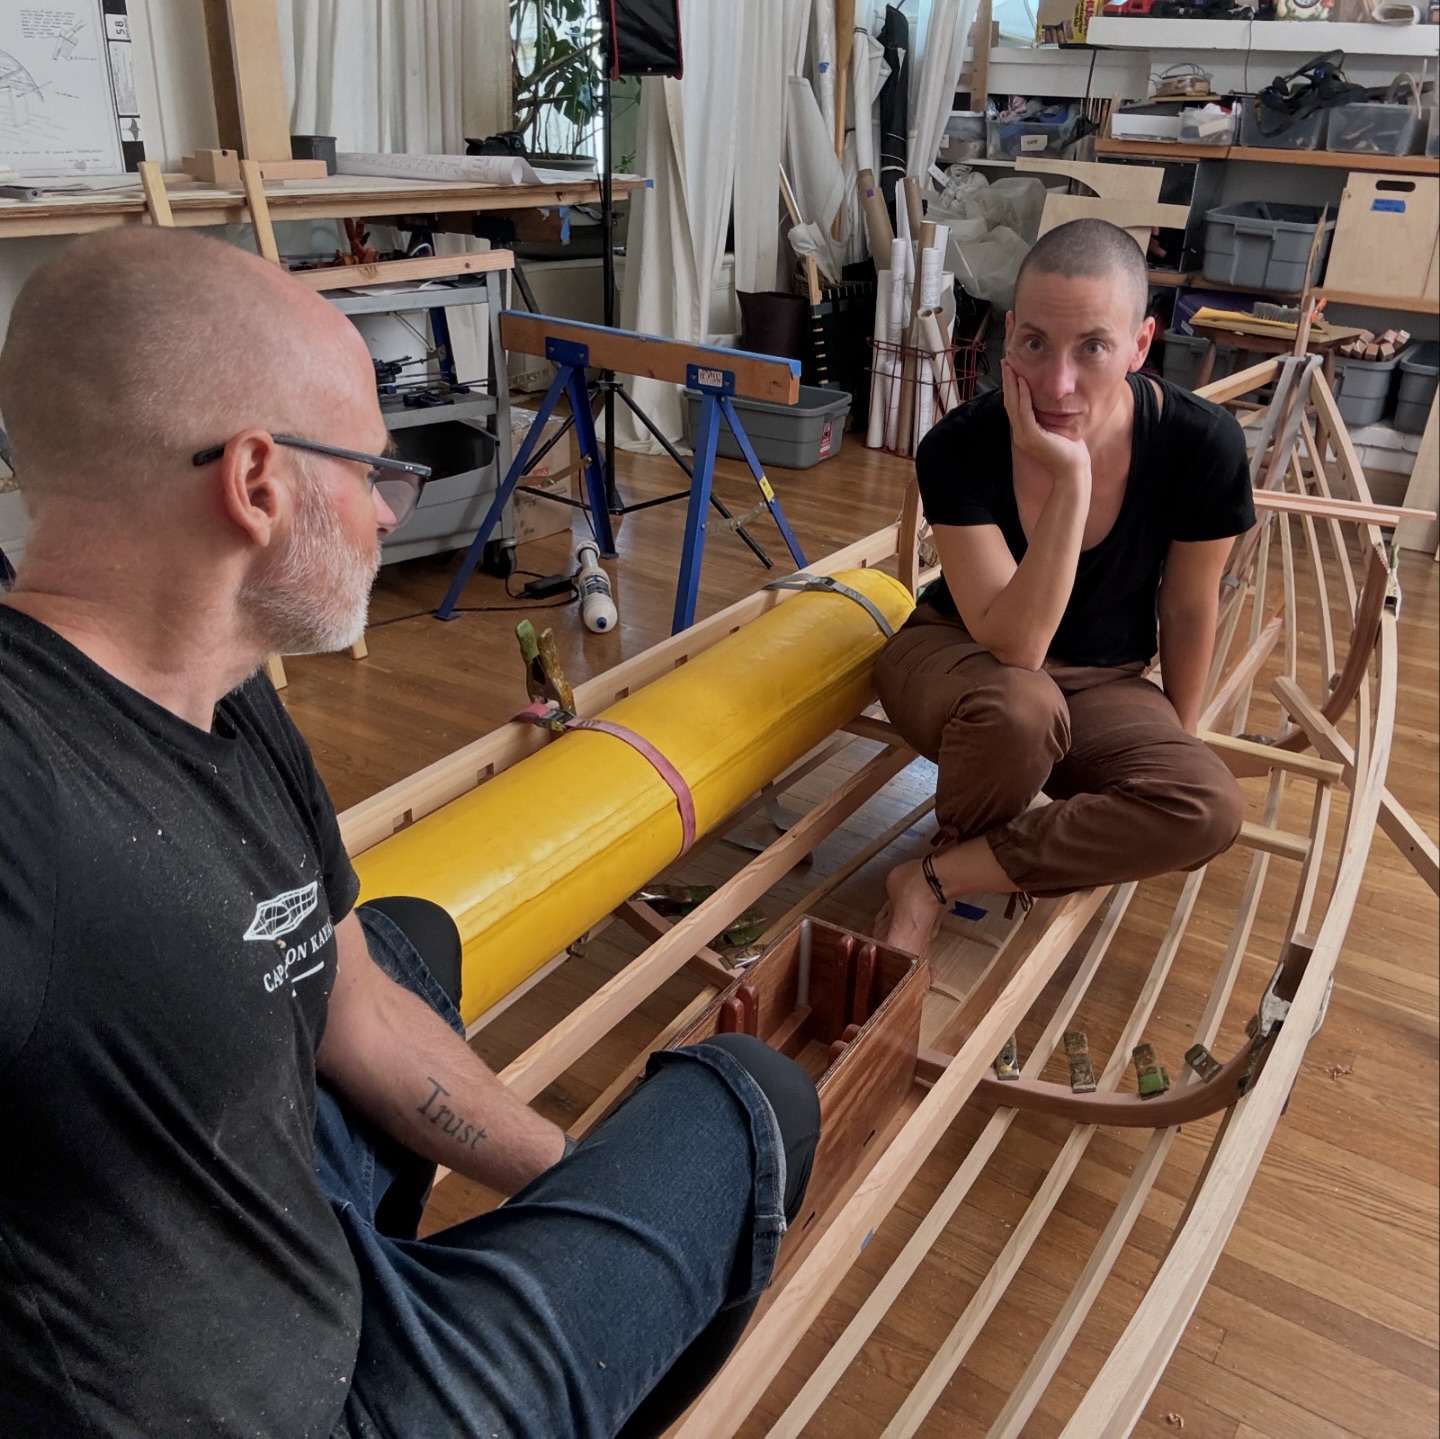
St. Lawrence River Skiff: Working out seating and flotation
Yesterday‘s project was working out the seating and flotation for the St. Lawrence River Skiff. The geometry for the pedal drive forces me to make a lot of compromise that I’m not 100% thrilled about but it is what it is. The seats are a bit lower than I prefer for pedaling, and a...
"St. Lawrence River Skiff: Working out seating and flotation"Continue reading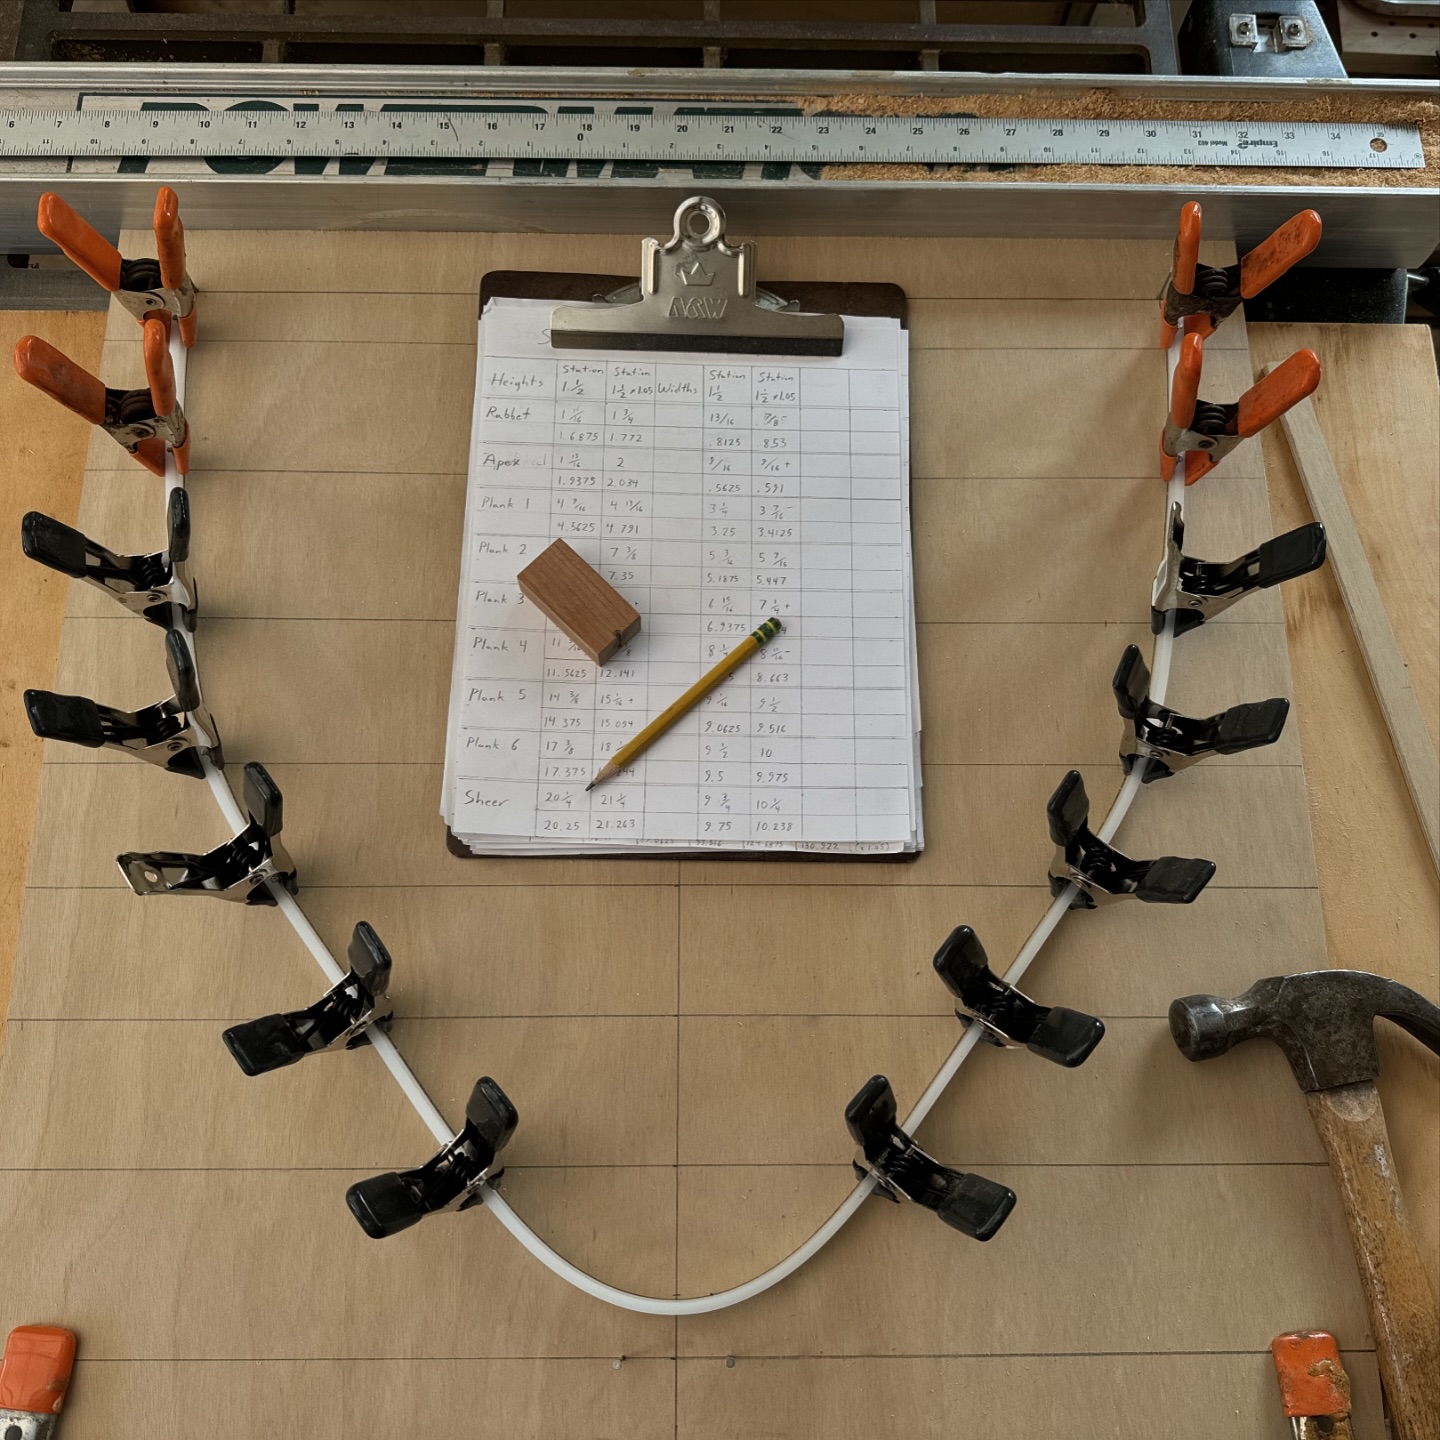
St. Lawrence River Skiff: Drawing up another station
Yesterday started out with drawing up another station from the table of offsets to check the shaping toward the ends. I’m not planning on laminating another frame here, this was just to check the lines and also to inform my choices for beveling the stringers towards the ends of the boat. On the worksheet,...
"St. Lawrence River Skiff: Drawing up another station"Continue reading
Video: St. Lawrence River Skiff: First dry fit of parts
First dry fit of the parts for the St. Lawrence River Skiff. Everything here is just held together by clamps and screws so I can see the shape and plan for seating, and also find and mark the bevel angles for the frames. A very annoying issue as always is figuring out how I’m...
"Video: St. Lawrence River Skiff: First dry fit of parts"Continue reading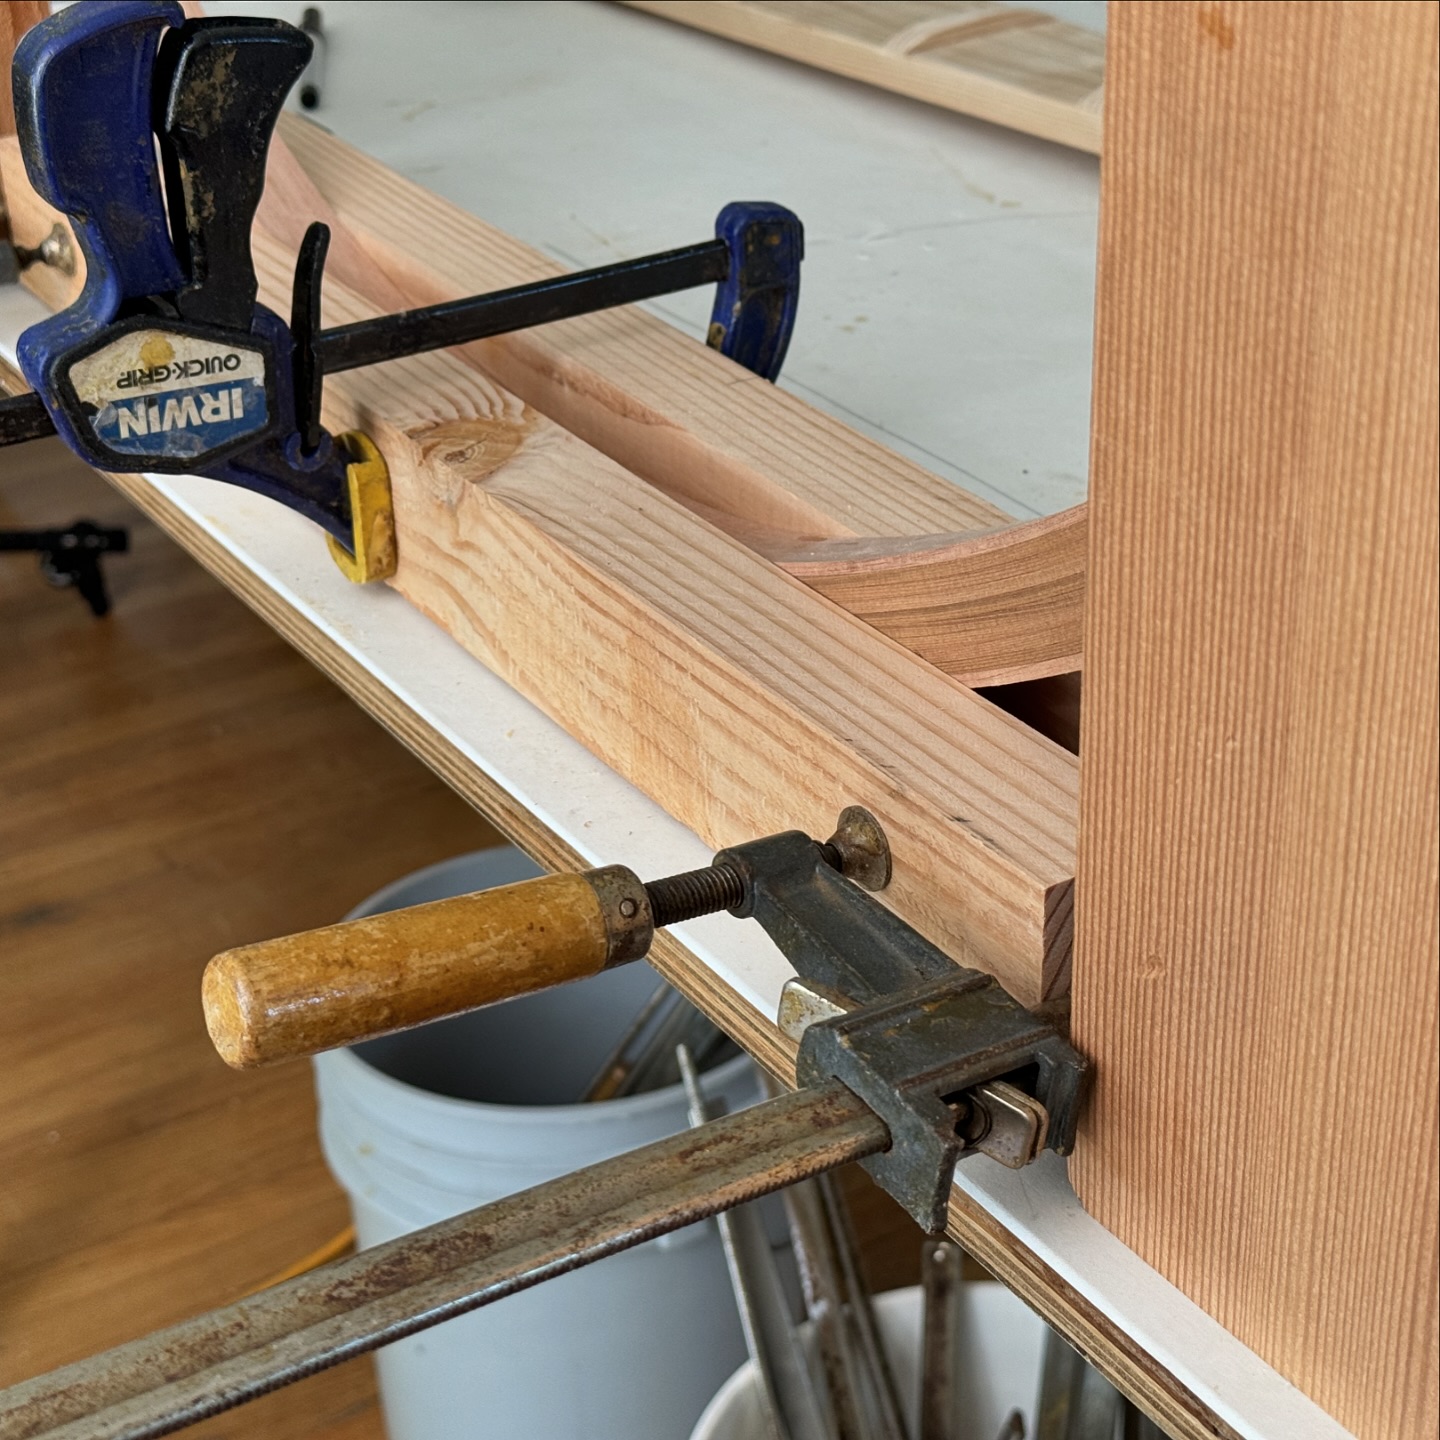
More work on the Saint Lawrence River Skiff
More work on the Saint Lawrence River Skiff. Little bit of a trick to keep the sheer line level and also flatten the bottom of the frame at the correct angle to intersect with the wide keel to keep everything plumb. I’m literally just posting this so I can remember how to do it...
"More work on the Saint Lawrence River Skiff"Continue reading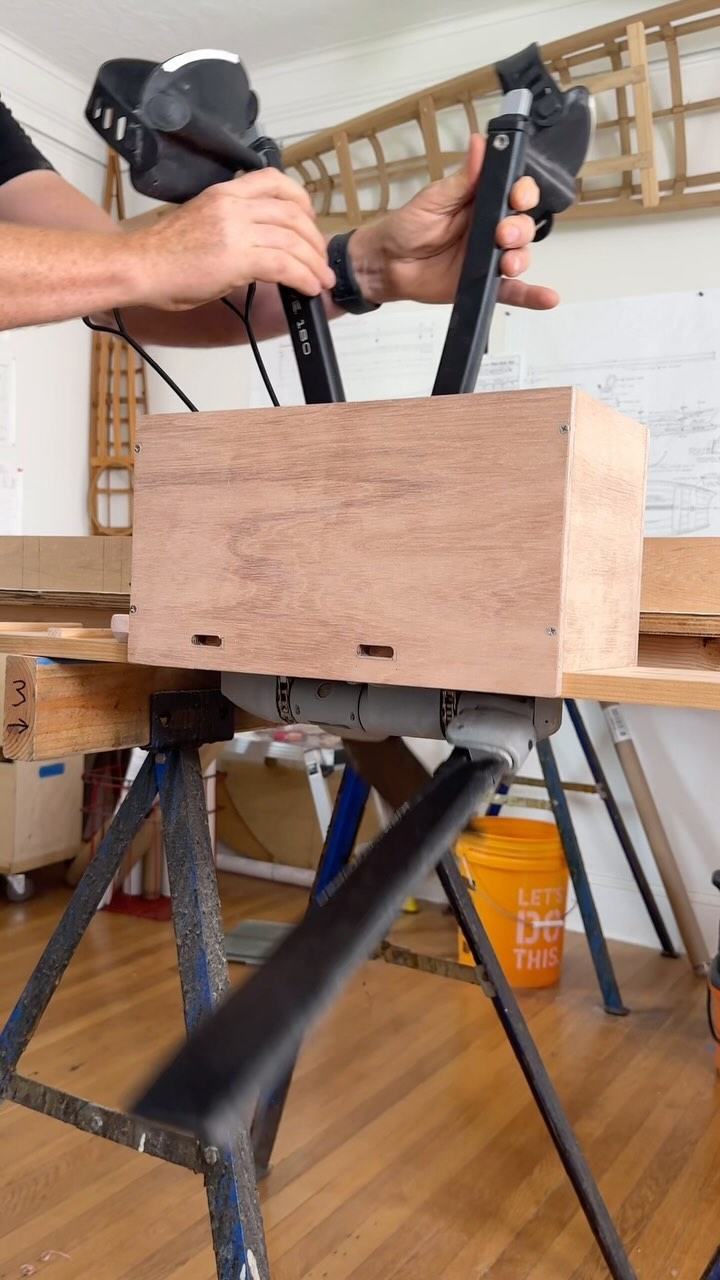
Video: A look at the pedal drive adapter box for the River Skiff
Spent the day building this adapter box for the Hobie pedal drive that I’m putting in the St. Lawrence River Skiff. Unlike the adapter boxes I put in our canoes, this one will be permanent instead of removable, and utilizes a different attachment system and thinner plywood, reducing the overall weight of the box...
"Video: A look at the pedal drive adapter box for the River Skiff"Continue reading
Laying out and laminating the river skiff stations
Yesterday I finished laying out the templates for a few of the station frames along the length of this 1.05% scale St. Lawrence River skiff, and today I laminated the frames with a core of red cedar between strips of mahogany on the outside. I also did the layout on a template for 1/4...
"Laying out and laminating the river skiff stations"Continue reading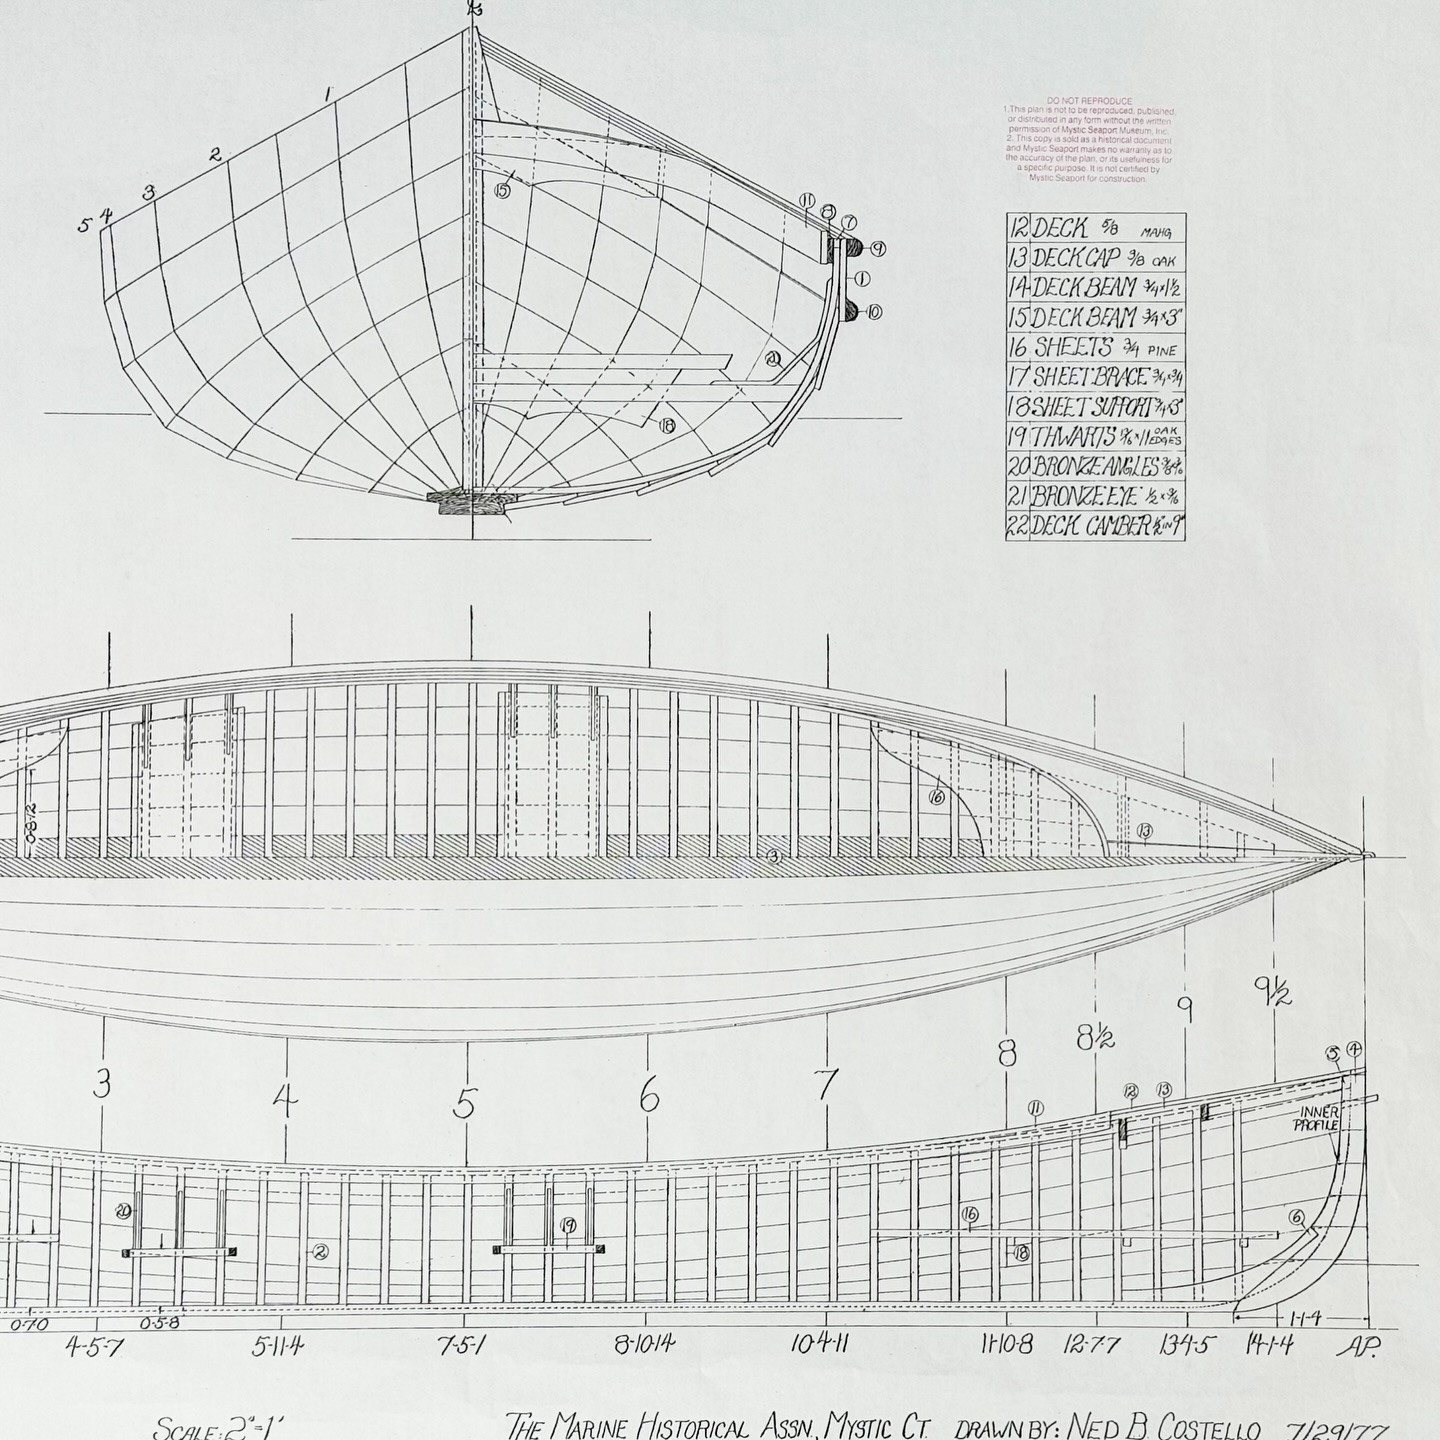
Shearwater update and moving on to the St. Lawrence River Skiff
For those of you who missedthe last boat building post, the skin on frame shearwater is on hold because my client is MIA. I’ll continue the build as soon as somebody pays me. In the meantime, I’m shifting focused to the next project, which is a modified version of the St. Lawrence River Skiff...
"Shearwater update and moving on to the St. Lawrence River Skiff"Continue reading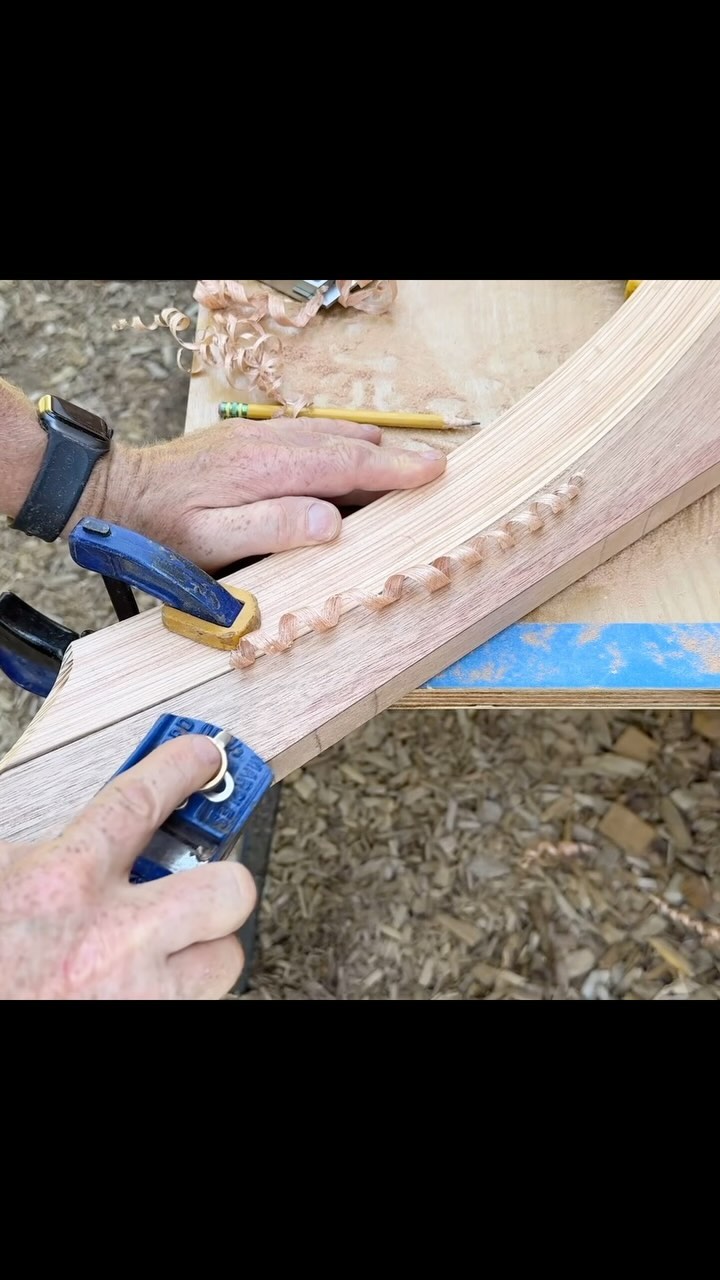
Skin on Frame Shearwater Build, Day 8
Skin on Frame Shearwater Build, Day 8: 6hrs. More work on the keel. With the glue on the scarf joints dry, I brought the inner and outer keel assembly outside to do some sanding, and also I used a 45° chamfer bit on a trim router, to create the 1/2” wide flat spot where...
"Skin on Frame Shearwater Build, Day 8"Continue reading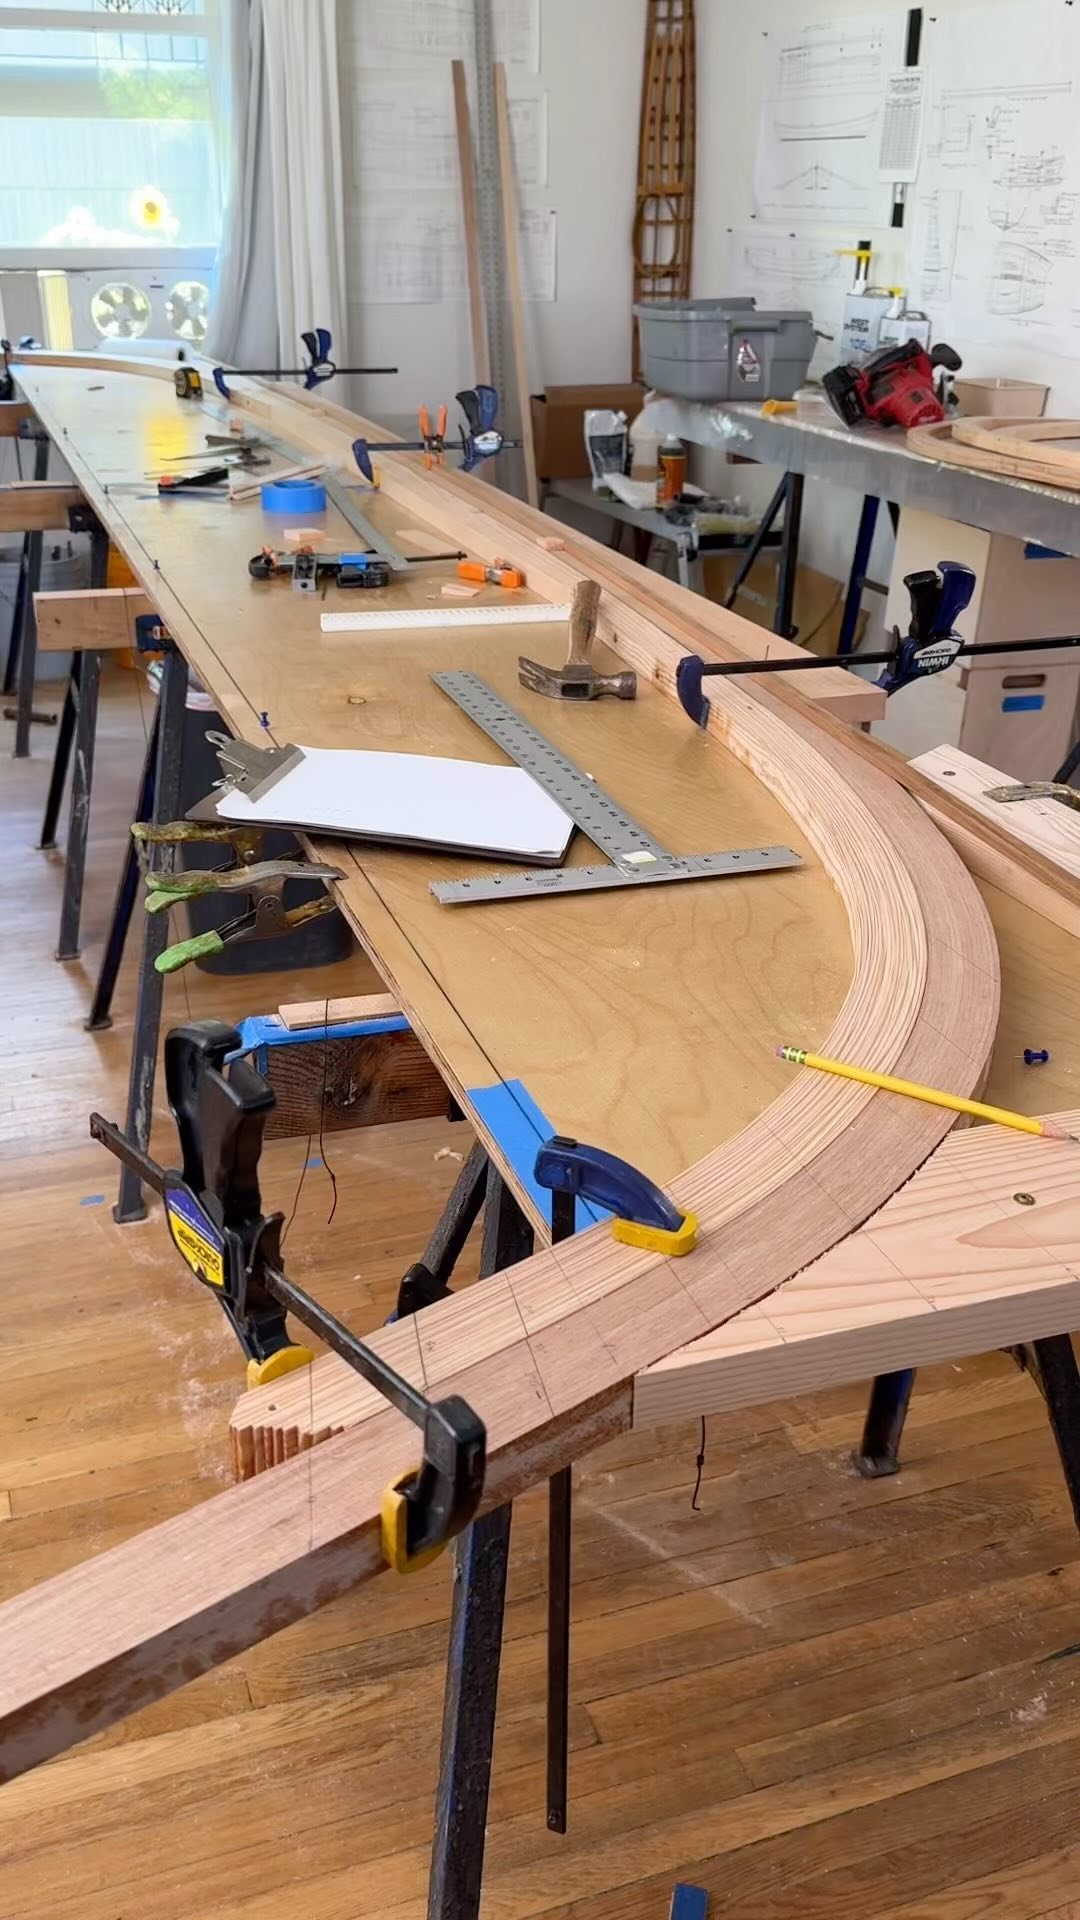
Video: My work table, the Noah’s ark of measuring devices
Looked down yesterday to realize that my work table is currently the Noah’s ark of measuring devices. What I’m doing here is trying to figure out how high I can raise the sheer at the ends of the boat. From personal experience, I know that this Shearwater will take waves over the bow in...
"Video: My work table, the Noah’s ark of measuring devices"Continue reading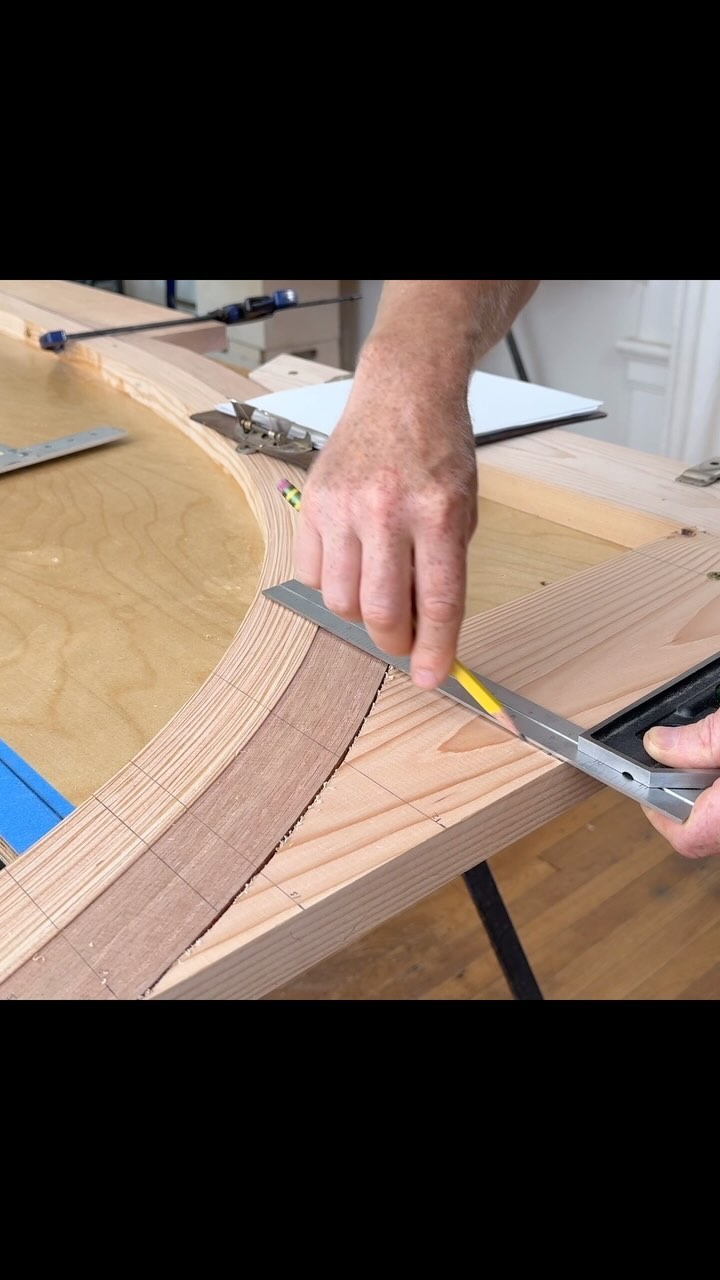
Video: Skin on Frame Shearwater build, Day 7
Skin on Frame Shearwater build, day 7, 6hrs Cutting the outer keel curve and gluing up the scarfs Today I finally finished the inner and outer keel assembly, which honestly took about three times as long as it really needed to but checking everything 10 times takes a bit of time. I’m sure this...
"Video: Skin on Frame Shearwater build, Day 7"Continue reading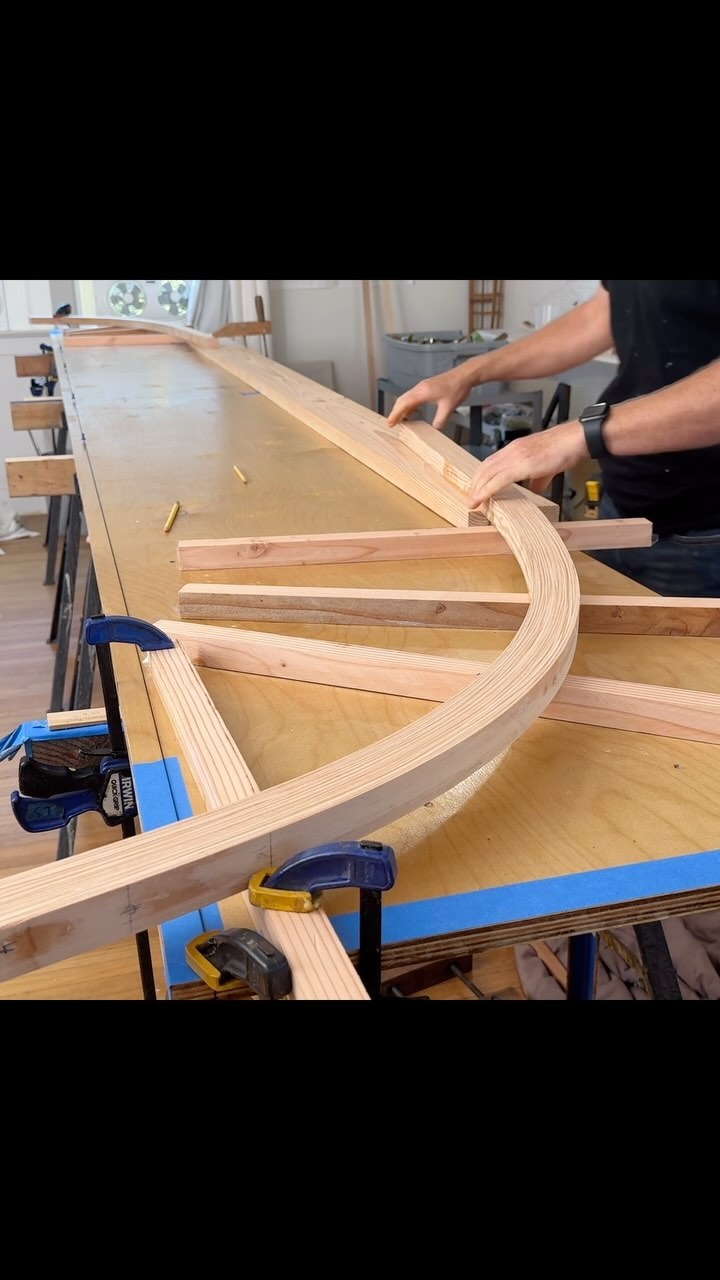
Video: Skin on Frame Shearwater Build, Day 6
Skin on Frame Shearwater Build, Day 6, 6hrs. Building the keel assembly, Part 1 With all the laminations finally done, I was able to clear off the layout table and start building the inner/outer keel. This part is taking me a lot longer than it really needs to, but I haven’t done this before...
"Video: Skin on Frame Shearwater Build, Day 6"Continue reading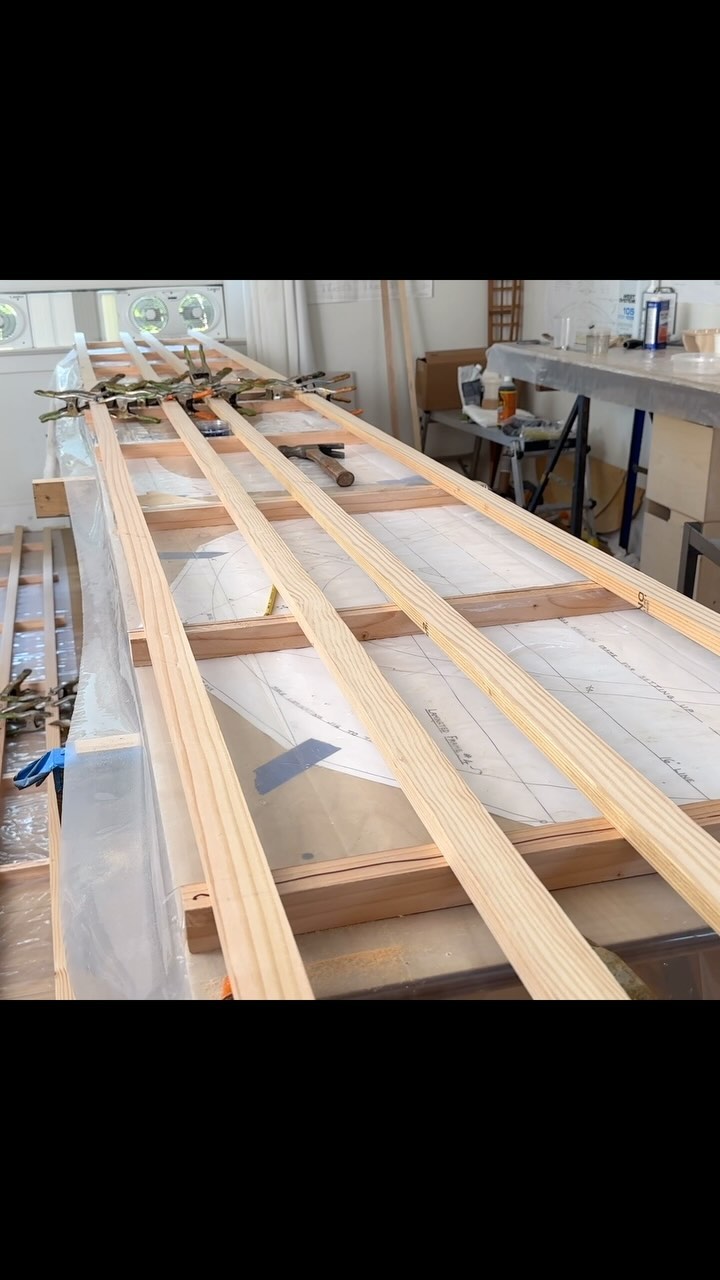
Video: Skin on Frame Shearwater build, Day 5
Skin on Frame Shearwater build, Day 5, 2hrs Nothing terribly exciting here today. Just spent a couple hours sorting through lumber and cutting it into strips then cutting tapers, then gluing it up into longer lumber for the gunwales and the upper stringer. For these particular joints, I thickened the epoxy to about the...
"Video: Skin on Frame Shearwater build, Day 5"Continue reading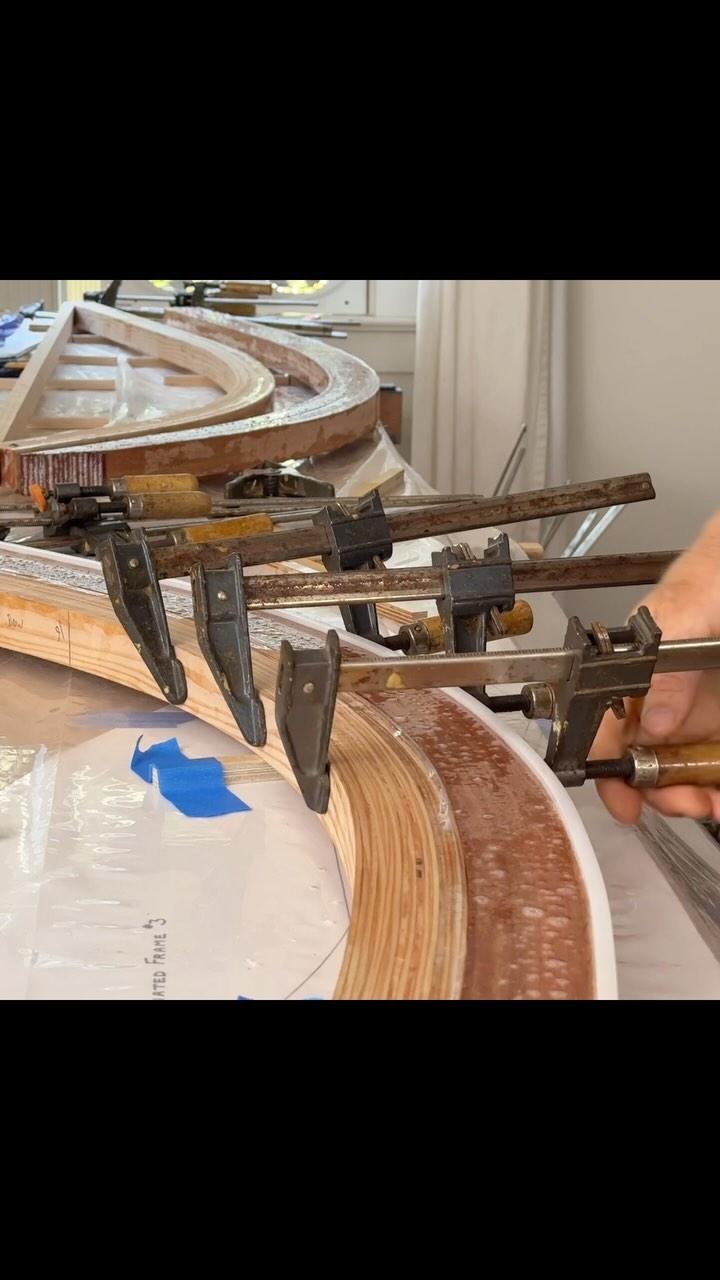
Video: Skin on Frame Shearwater build, Day 4
Skin on Frame Shearwater build, Day 4, 3 hrs After cleaning up the inner stems with a power planer and squaring the front face, I put a strip of packing tape on the front curve to prevent adhesion and then cut up some beautiful lightweight mahogany (who knows what this actually is?) and laminated...
"Video: Skin on Frame Shearwater build, Day 4"Continue reading