
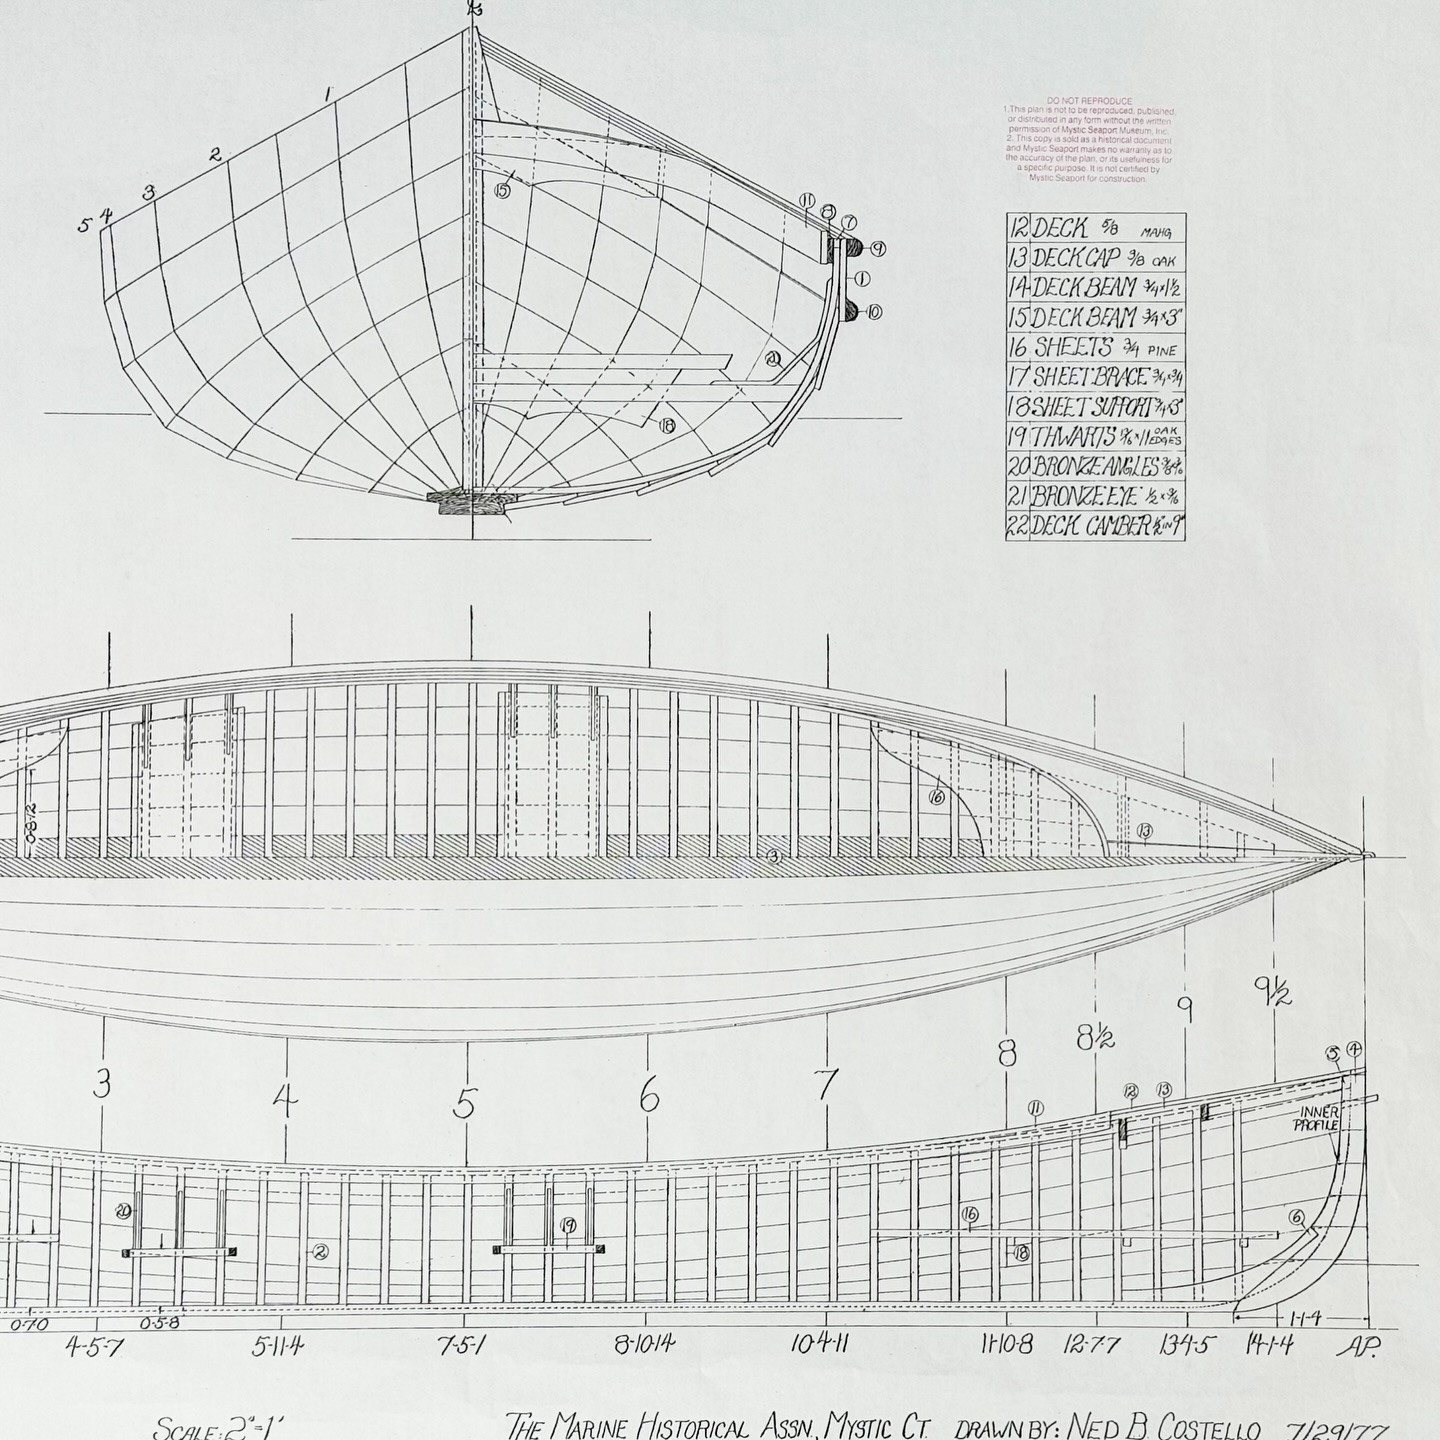
Yesterday I finished laying out the templates for a few of the station frames along the length of this 1.05% scale St. Lawrence River skiff, and today I laminated the frames with a core of red cedar between strips of mahogany on the outside. I also did the layout on a template for 1/4...
"Laying out and laminating the river skiff stations"Continue readingBlog
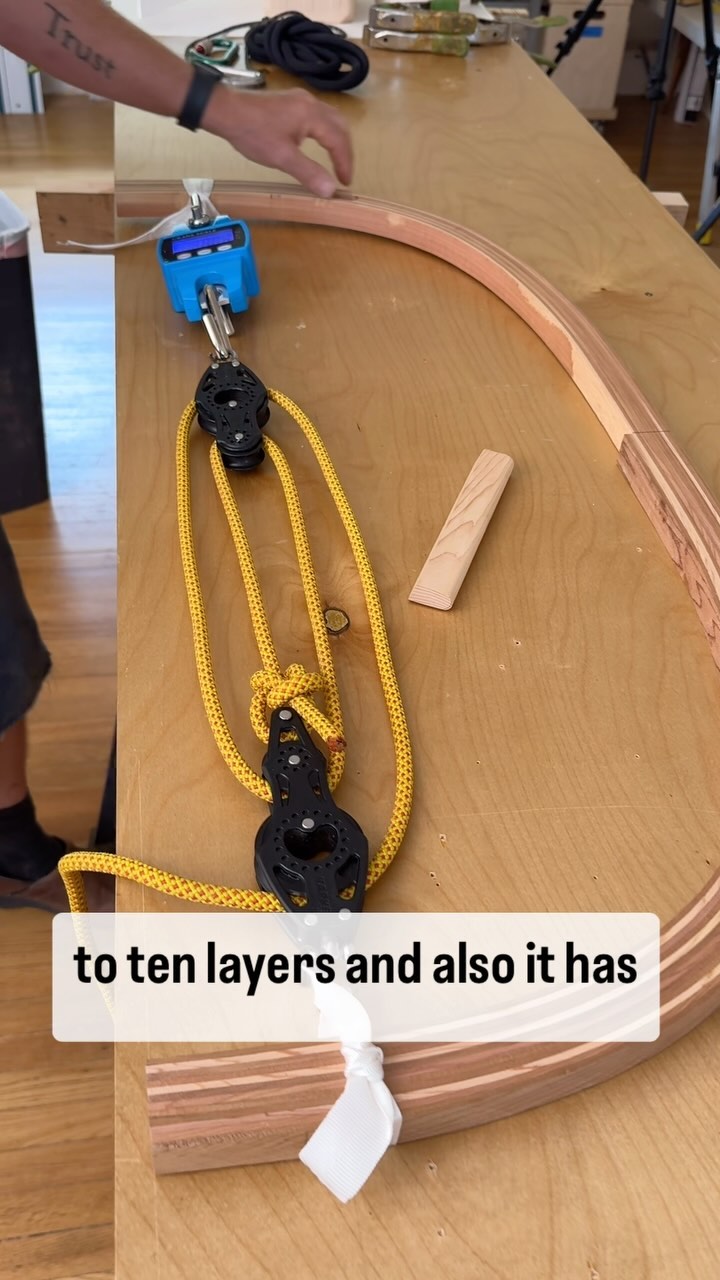
Video: Destructive testing a station lamination
It actually broke at 108 pounds! ___ This post was originally featured on our Instagram feed. See the original post and discussion here. Follow Cape Falcon Kayak on Instagram »...
Shearwater update and moving on to the St. Lawrence River Skiff
For those of you who missedthe last boat building post, the skin on frame shearwater is on hold because my client is MIA. I’ll continue the build as soon as somebody pays me. In the meantime, I’m shifting focused to the next project, which is a modified version of the St. Lawrence River Skiff...
"Shearwater update and moving on to the St. Lawrence River Skiff"Continue reading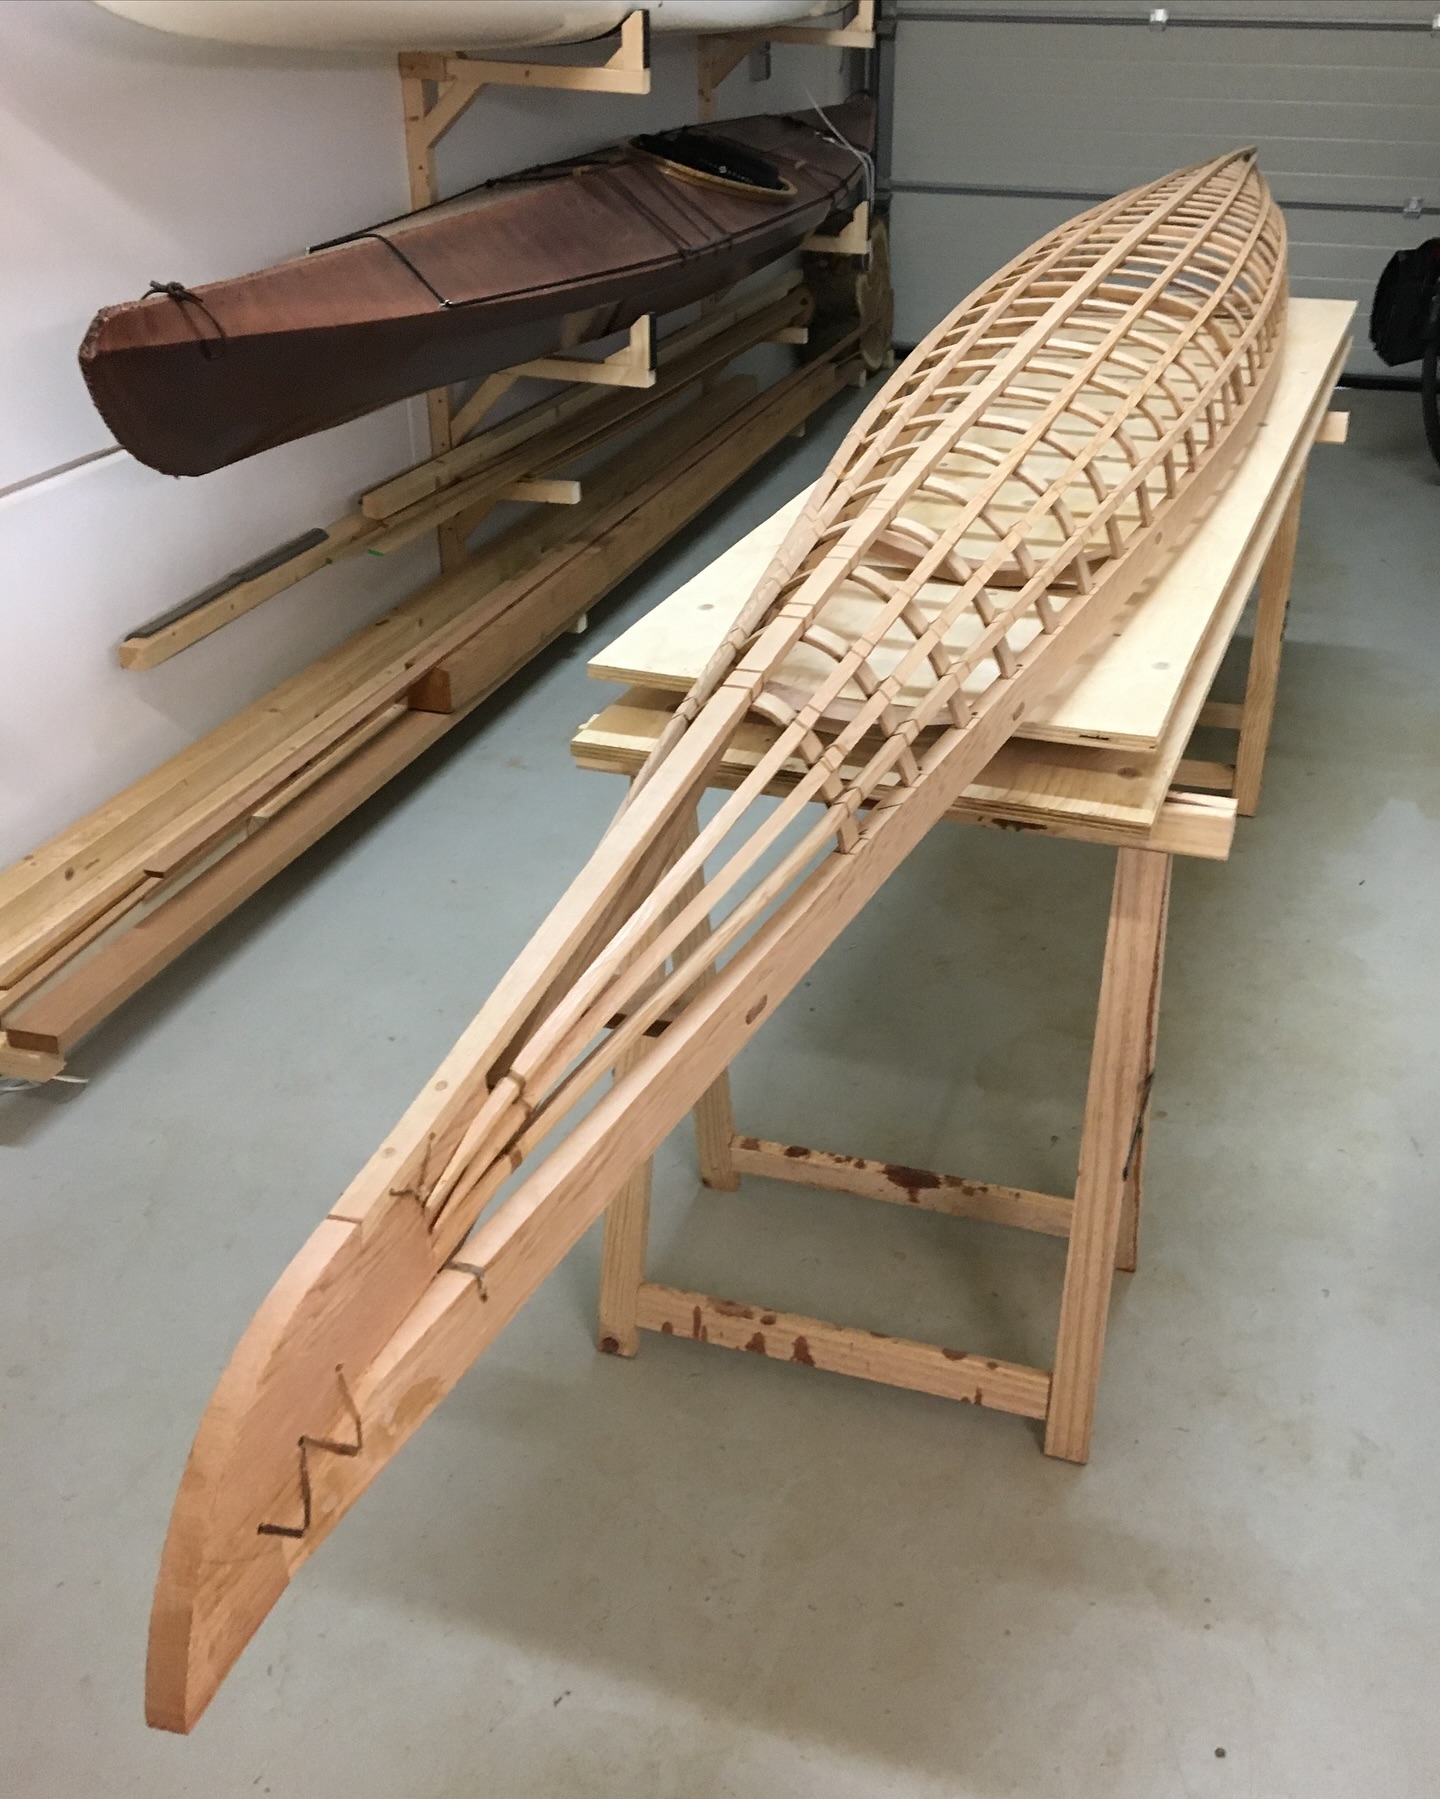
Berend’s C1 canoe
Check out this C1 canoe build from Berend in the Netherlands. Berend has built two of our other kayaks both of which are on our Student Builds blog. Berend designed this himself. It weighs 13kg and he says it is quite fast. ___This post was originally featured on our Instagram feed.See the original post...
"Berend’s C1 canoe"Continue reading
Serge’s canoe in progress
Check out this video by @sergepropose on Instagram, who is building one of our kayaks right now. There’s an entire series of these videos on his page that shows the construction of the kayak from start to finish. Serge is an incredible craftsman who also builds custom van interiors among other things. I’m envious...
"Serge’s canoe in progress"Continue reading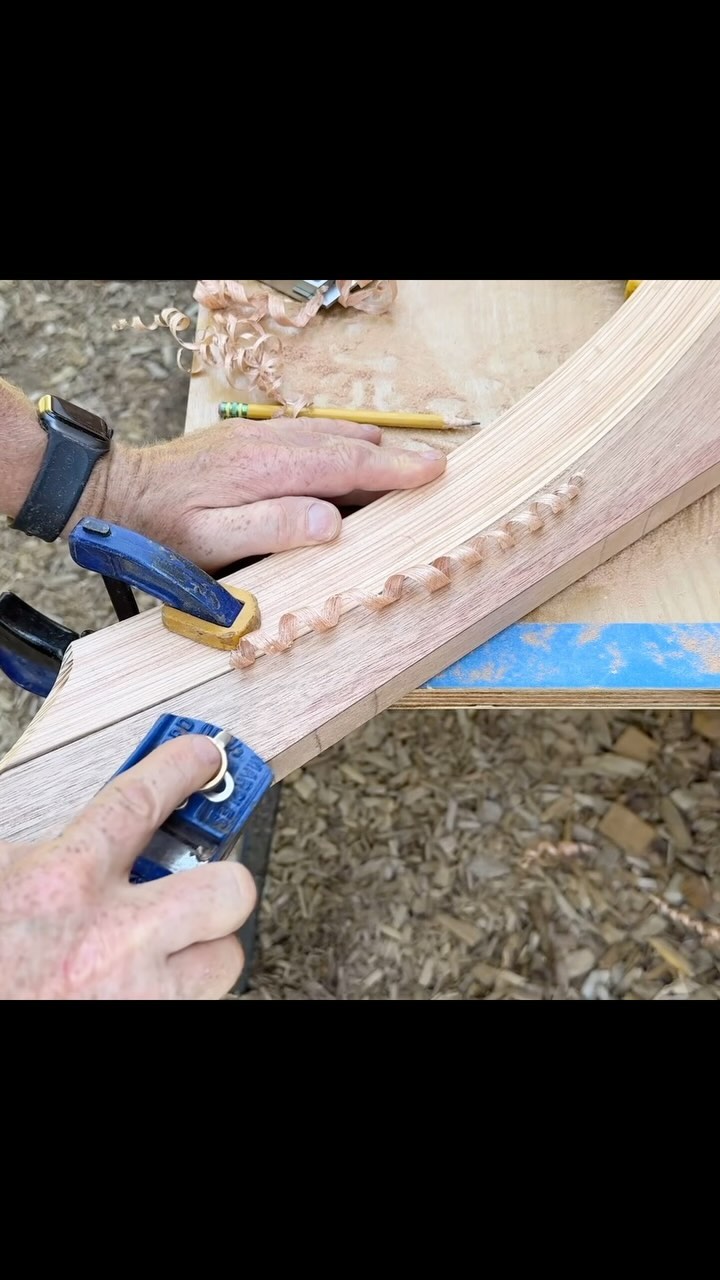
Skin on Frame Shearwater Build, Day 8
Skin on Frame Shearwater Build, Day 8: 6hrs. More work on the keel. With the glue on the scarf joints dry, I brought the inner and outer keel assembly outside to do some sanding, and also I used a 45° chamfer bit on a trim router, to create the 1/2” wide flat spot where...
"Skin on Frame Shearwater Build, Day 8"Continue reading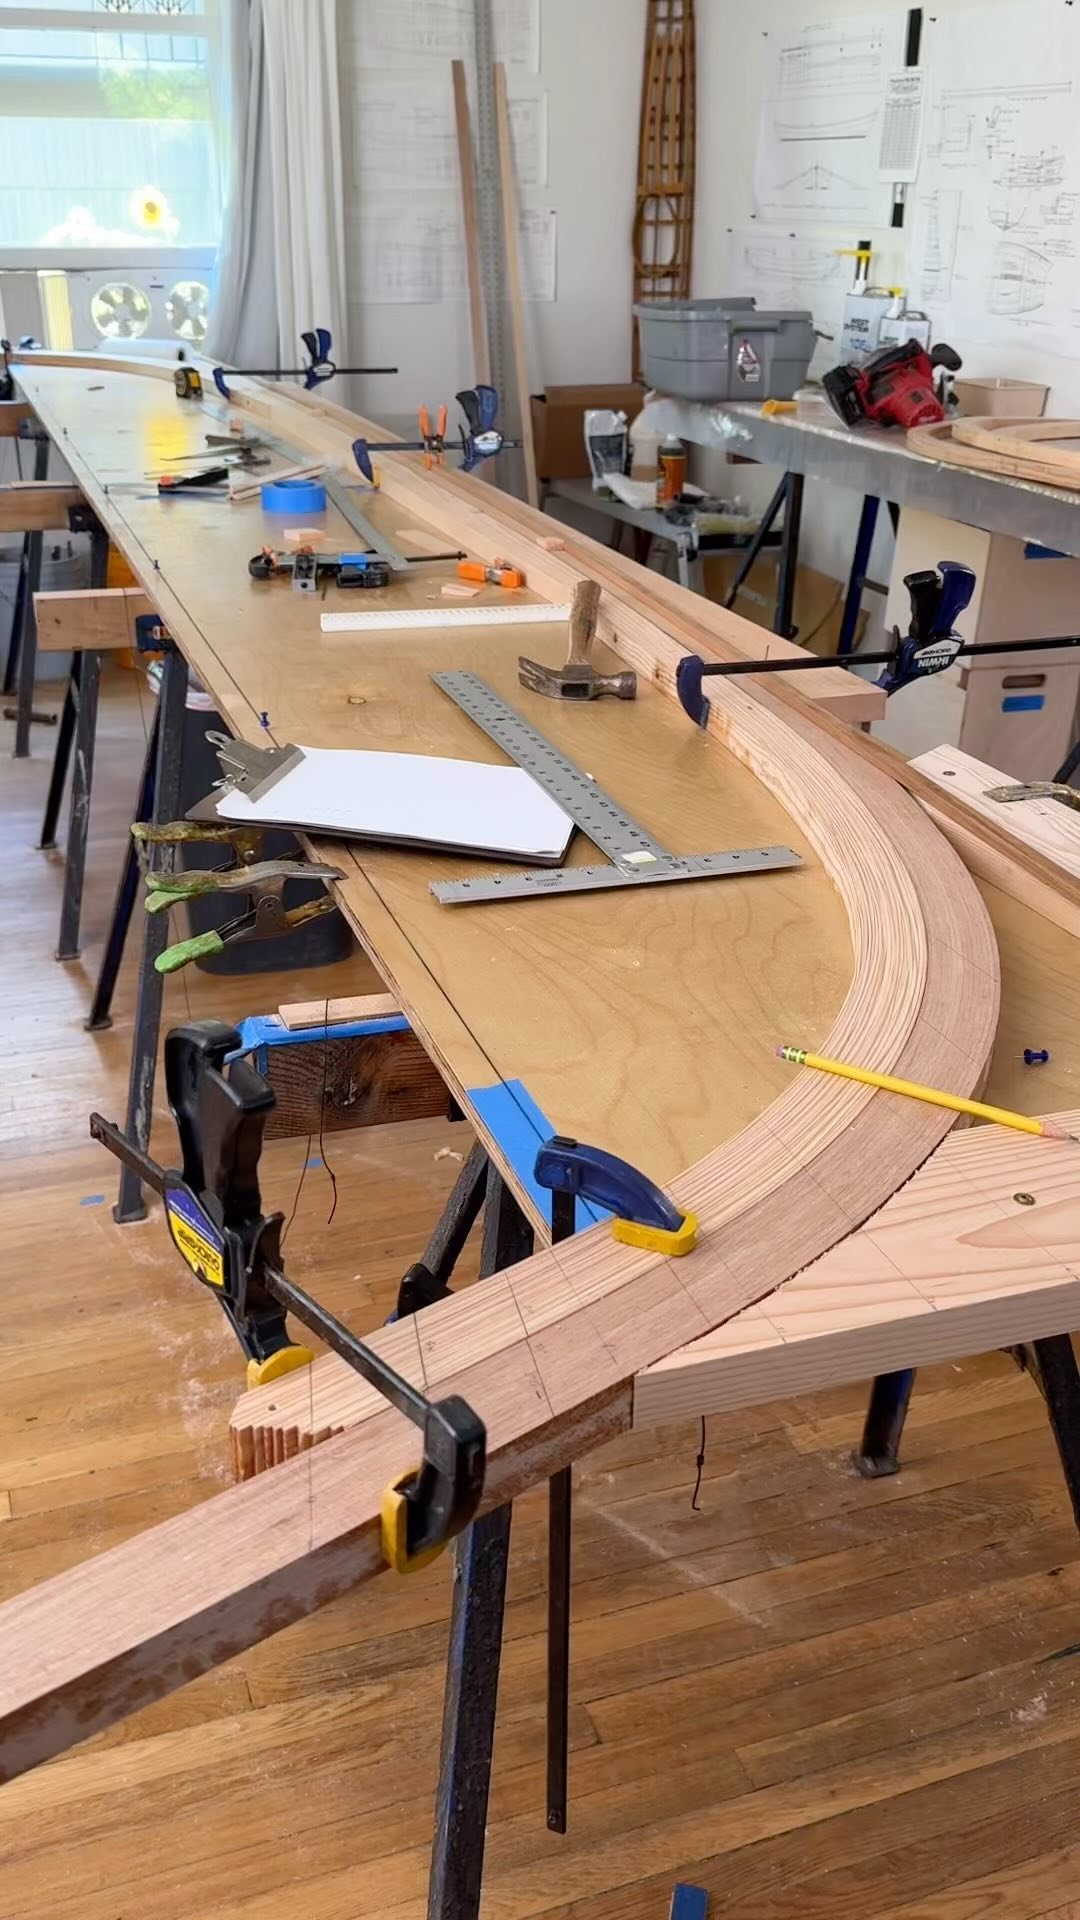
Video: My work table, the Noah’s ark of measuring devices
Looked down yesterday to realize that my work table is currently the Noah’s ark of measuring devices. What I’m doing here is trying to figure out how high I can raise the sheer at the ends of the boat. From personal experience, I know that this Shearwater will take waves over the bow in...
"Video: My work table, the Noah’s ark of measuring devices"Continue reading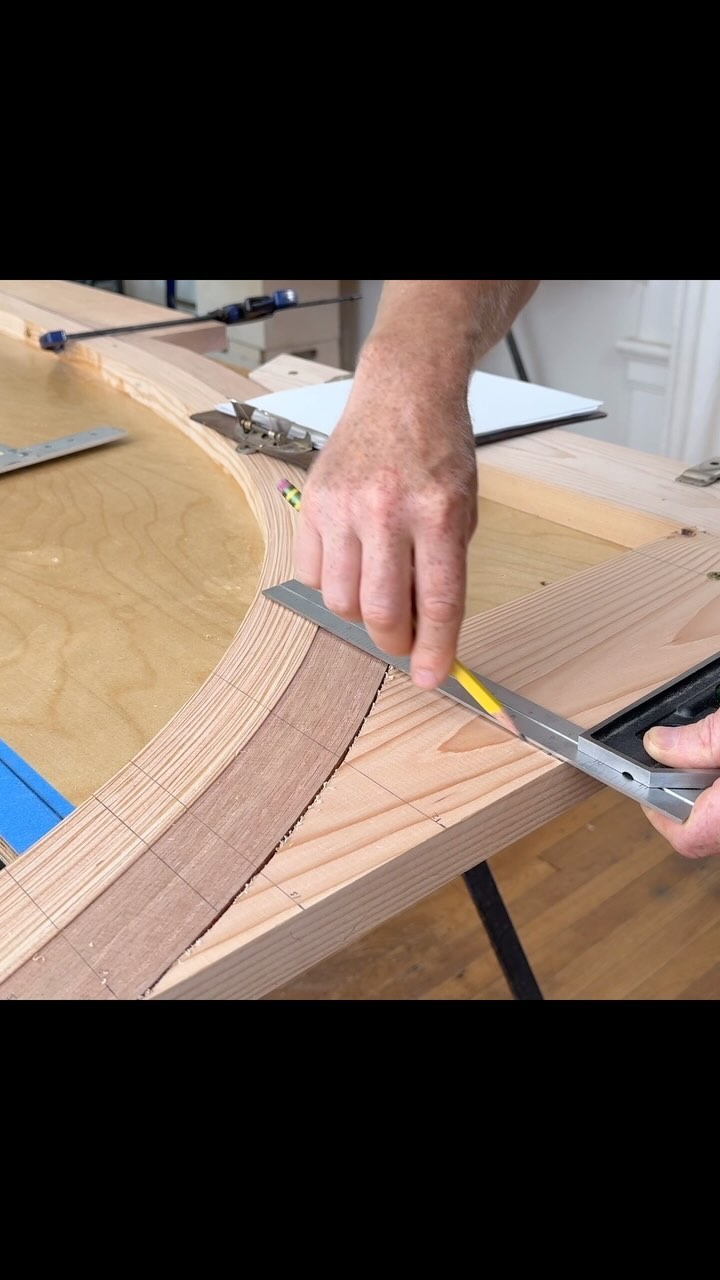
Video: Skin on Frame Shearwater build, Day 7
Skin on Frame Shearwater build, day 7, 6hrs Cutting the outer keel curve and gluing up the scarfs Today I finally finished the inner and outer keel assembly, which honestly took about three times as long as it really needed to but checking everything 10 times takes a bit of time. I’m sure this...
"Video: Skin on Frame Shearwater build, Day 7"Continue reading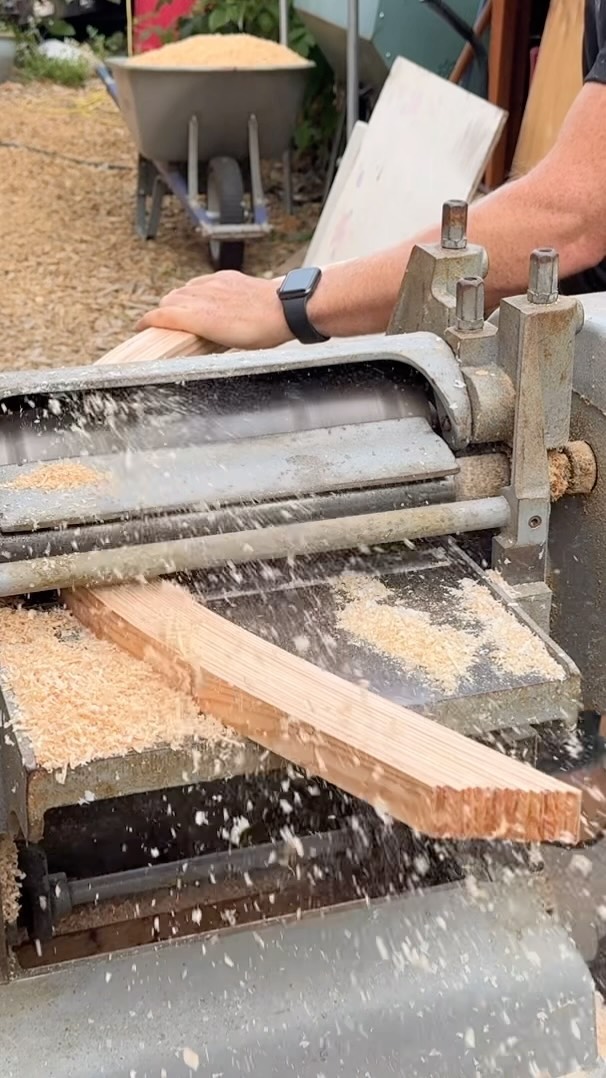
Video: Assessing the safety of this frame thicknessing method
I’m trying to decide if it’s safe to recommend this frame thicknessing method to my boat building students. It’s a lot easier and more accurate than getting after it with a handheld power planer but I’m not sure that all feed roller systems would allow someone to turn the workpiece? What do you think?...
"Video: Assessing the safety of this frame thicknessing method"Continue reading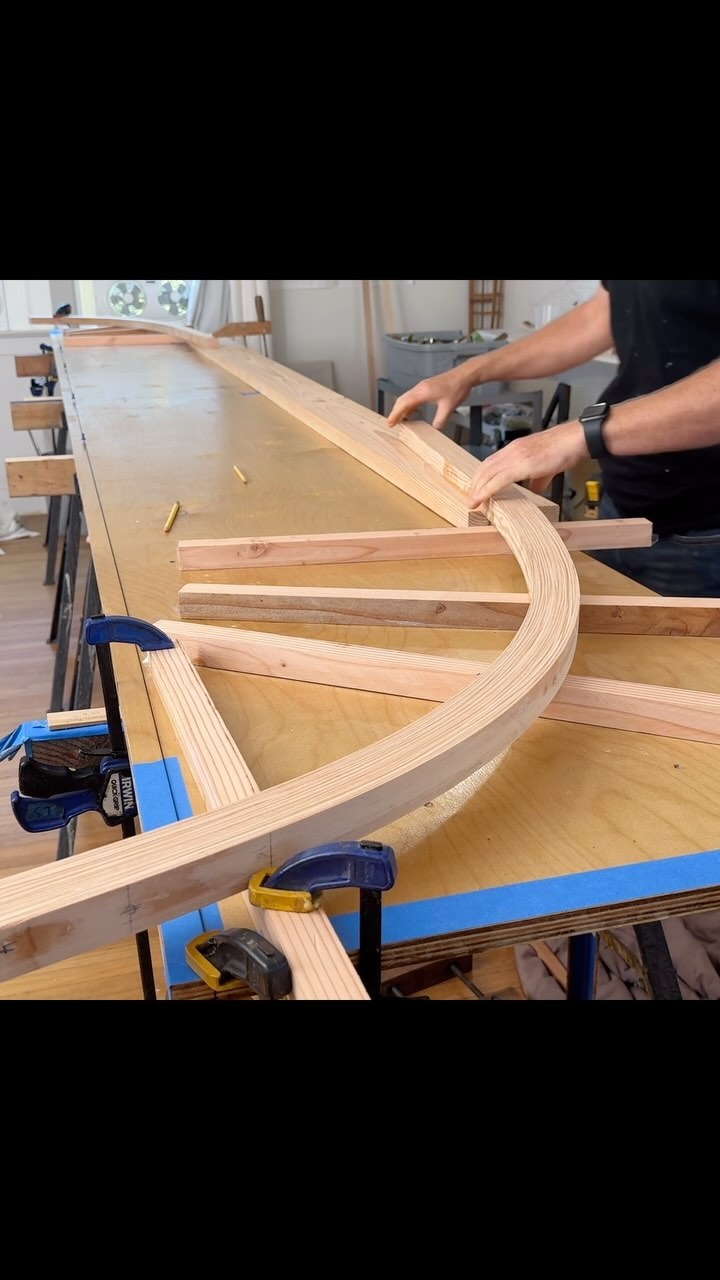
Video: Skin on Frame Shearwater Build, Day 6
Skin on Frame Shearwater Build, Day 6, 6hrs. Building the keel assembly, Part 1 With all the laminations finally done, I was able to clear off the layout table and start building the inner/outer keel. This part is taking me a lot longer than it really needs to, but I haven’t done this before...
"Video: Skin on Frame Shearwater Build, Day 6"Continue reading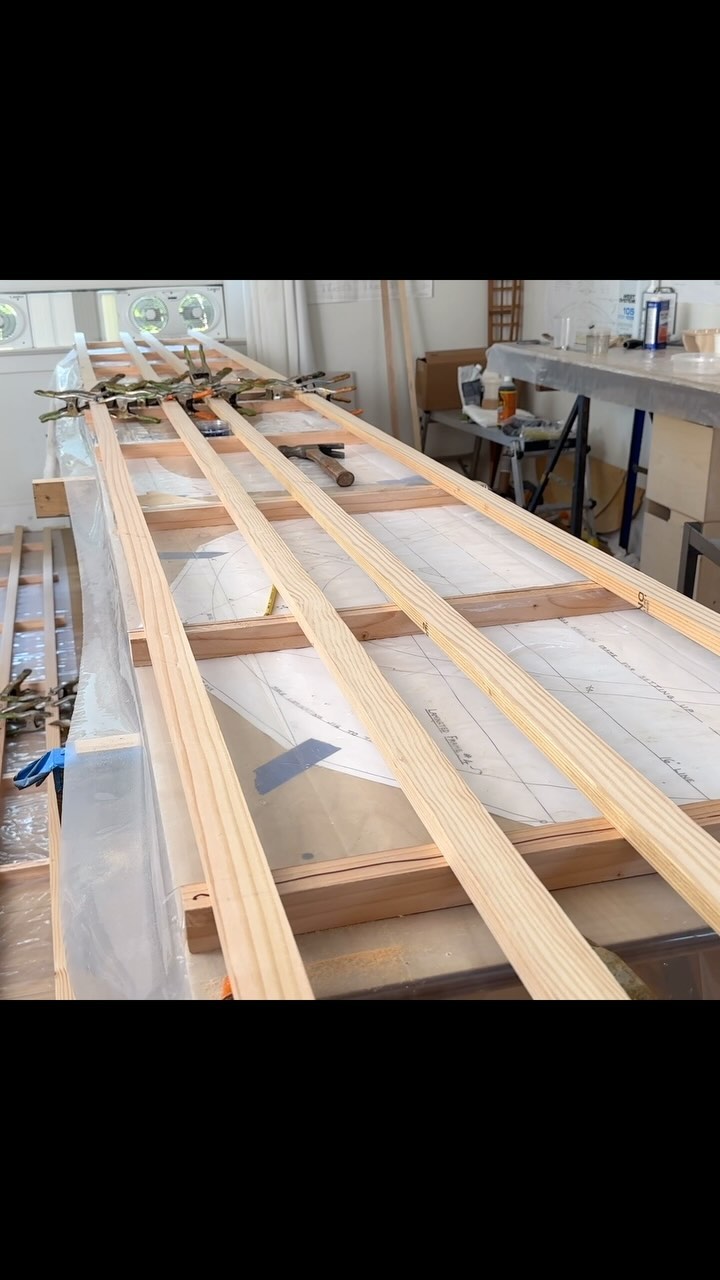
Video: Skin on Frame Shearwater build, Day 5
Skin on Frame Shearwater build, Day 5, 2hrs Nothing terribly exciting here today. Just spent a couple hours sorting through lumber and cutting it into strips then cutting tapers, then gluing it up into longer lumber for the gunwales and the upper stringer. For these particular joints, I thickened the epoxy to about the...
"Video: Skin on Frame Shearwater build, Day 5"Continue reading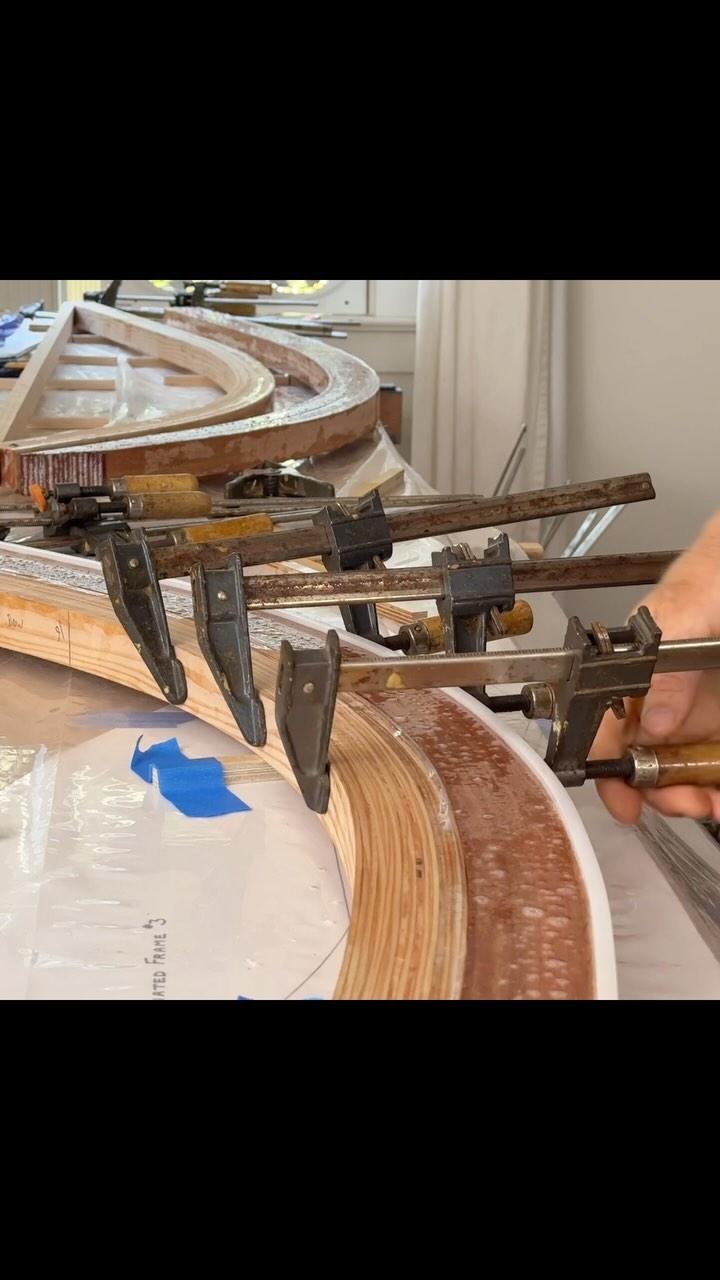
Video: Skin on Frame Shearwater build, Day 4
Skin on Frame Shearwater build, Day 4, 3 hrs After cleaning up the inner stems with a power planer and squaring the front face, I put a strip of packing tape on the front curve to prevent adhesion and then cut up some beautiful lightweight mahogany (who knows what this actually is?) and laminated...
"Video: Skin on Frame Shearwater build, Day 4"Continue reading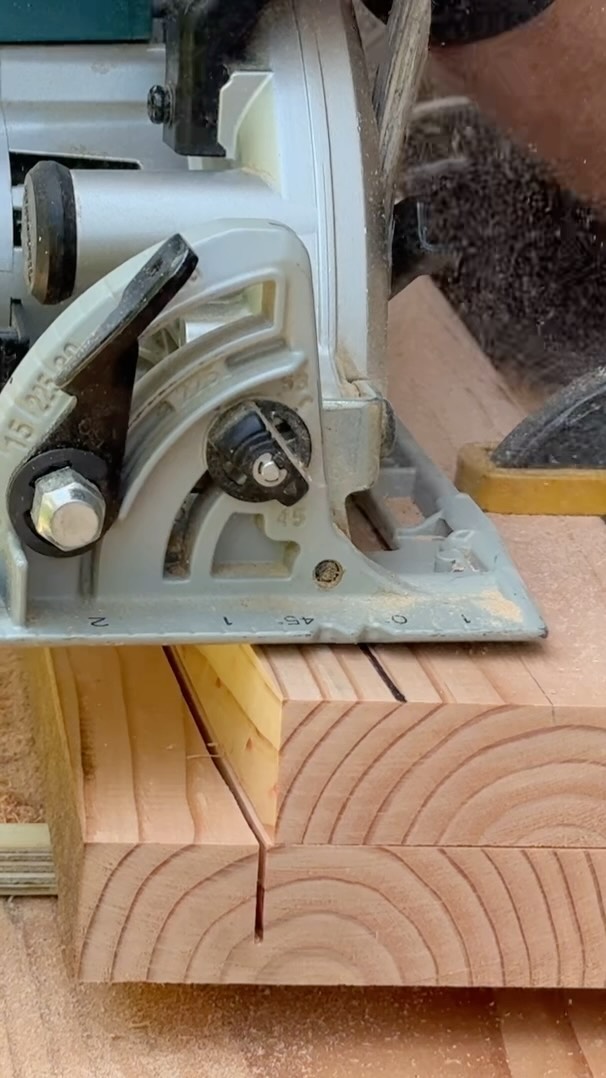
Video: Test cuts for the Shearwater keel
The shearwater will be my first non-laminated, inner and outer curved keel. These have to match perfectly and I didn’t love the idea of cutting one and then scribing the line onto the other and then praying that I could follow that same line to within a 64th. So here I am doing an...
"Video: Test cuts for the Shearwater keel"Continue reading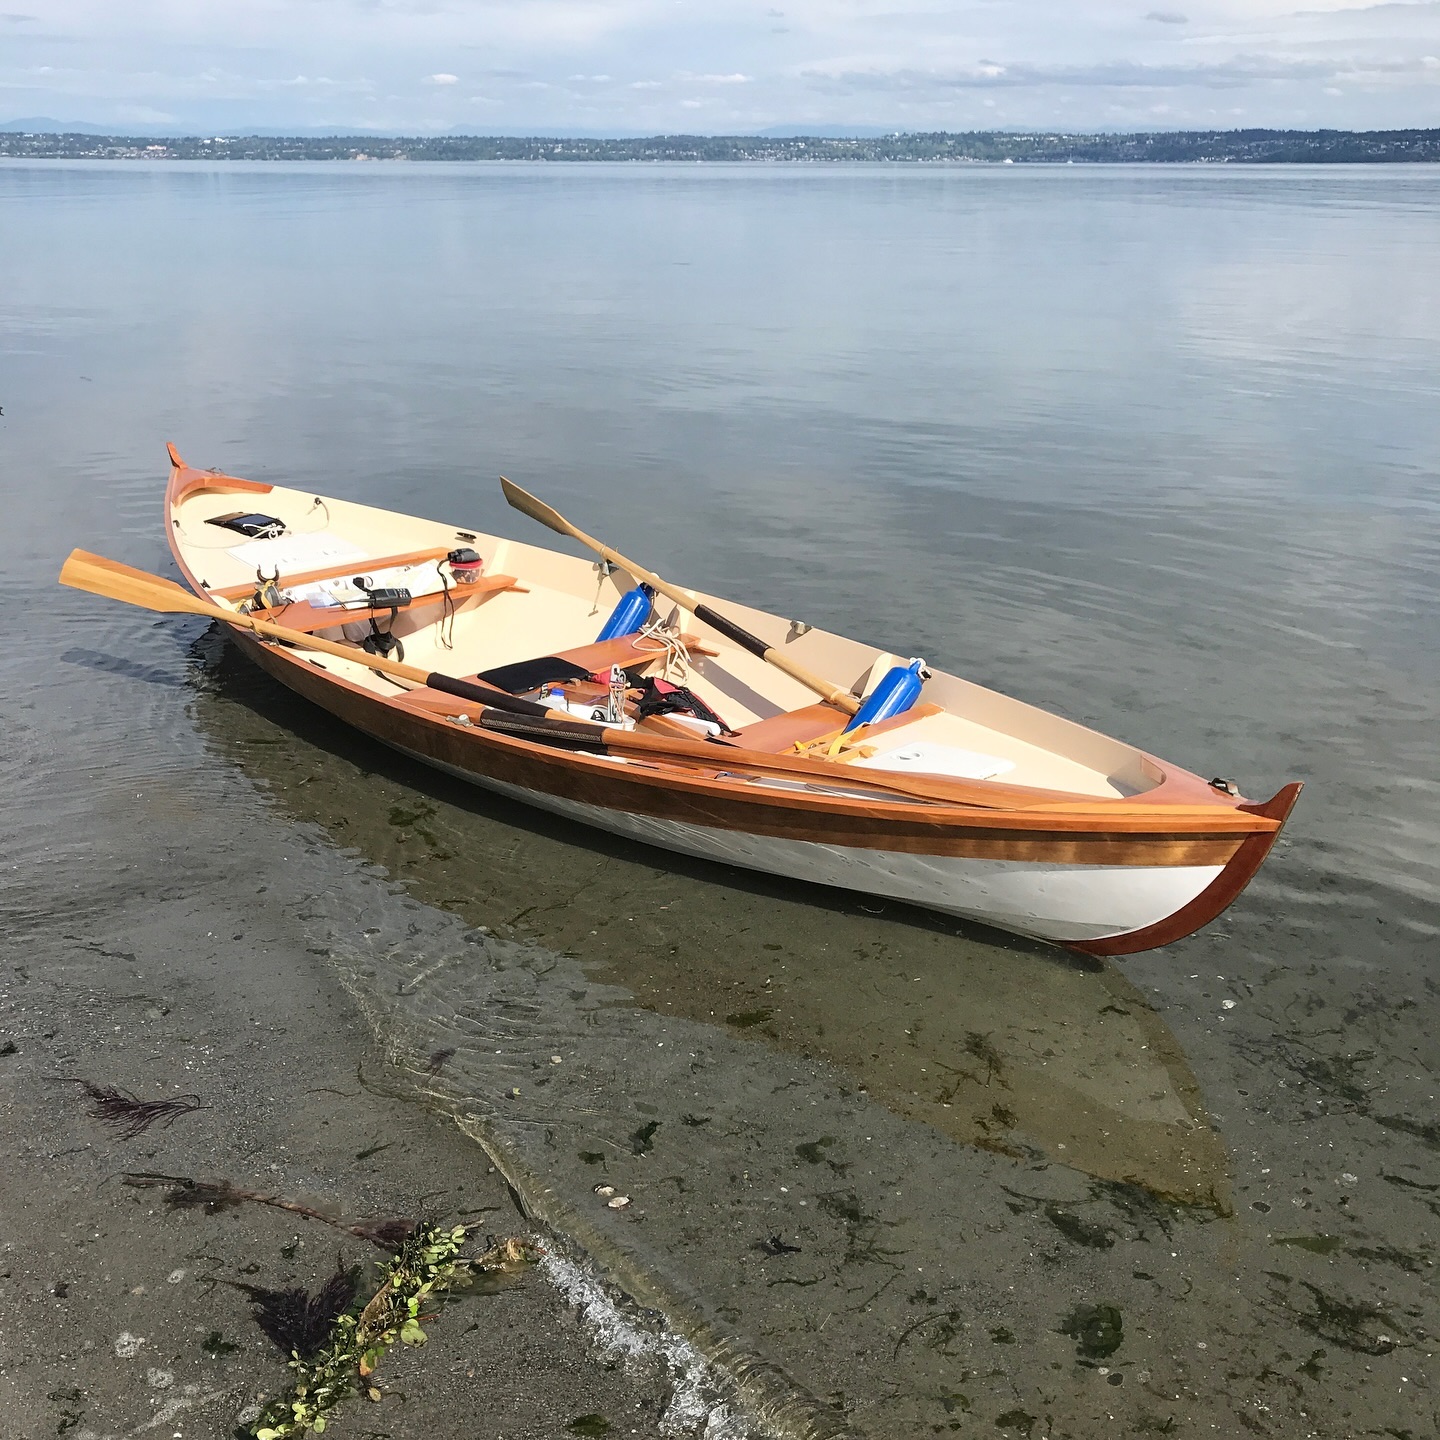
Skin on Frame Shearwater build, Day 3
Skin on Frame Shearwater build, Day 3, 4hrs Today we laminated the two intermediate frames, which is a process you’ve already seen, so I figured why not use this space today to show you what the Shearwater looks like built as designed out of glue lap plywood. This particular Shearwater was built by Bill...
"Skin on Frame Shearwater build, Day 3"Continue reading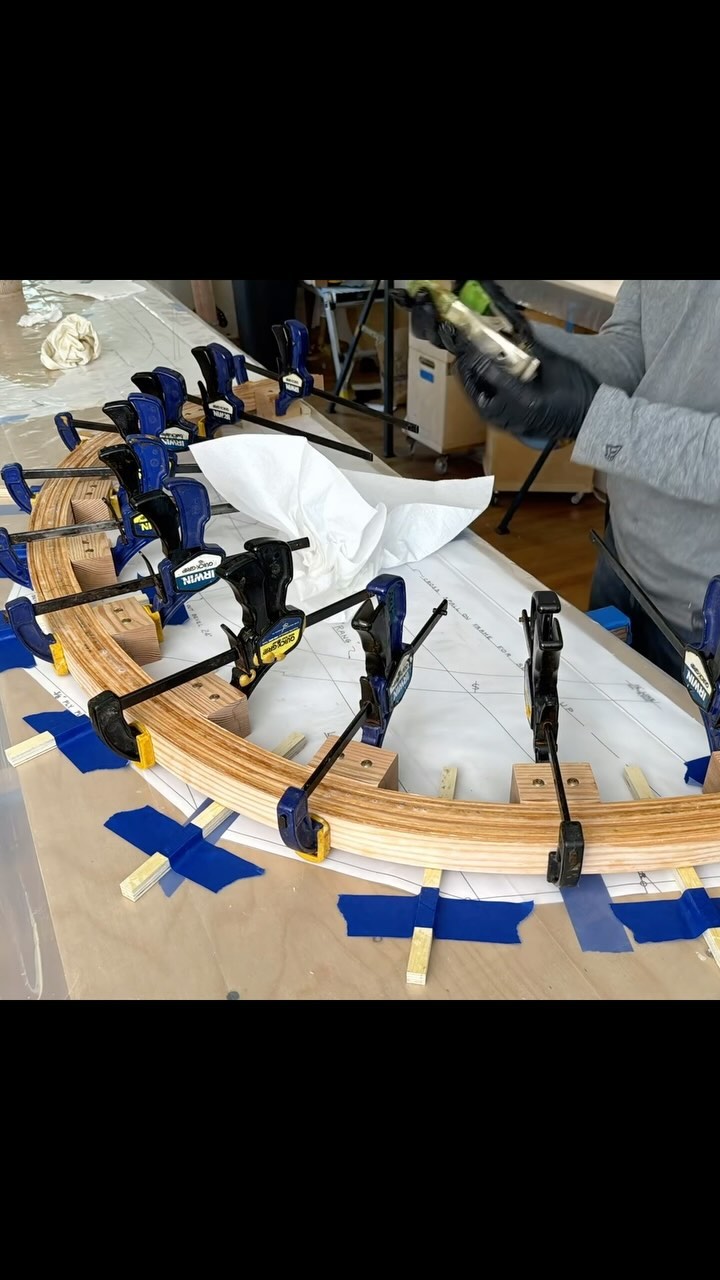
Timelapse: Shearwater stem and frame laminations
Sound on! As long as I have the forms for the shearwater set up on my work tables, I figured I might as well laminate up a second set of stems and frames in case I ever want to build another one. So that brings me up to 10 large laminations, which has really...
"Timelapse: Shearwater stem and frame laminations"Continue reading